
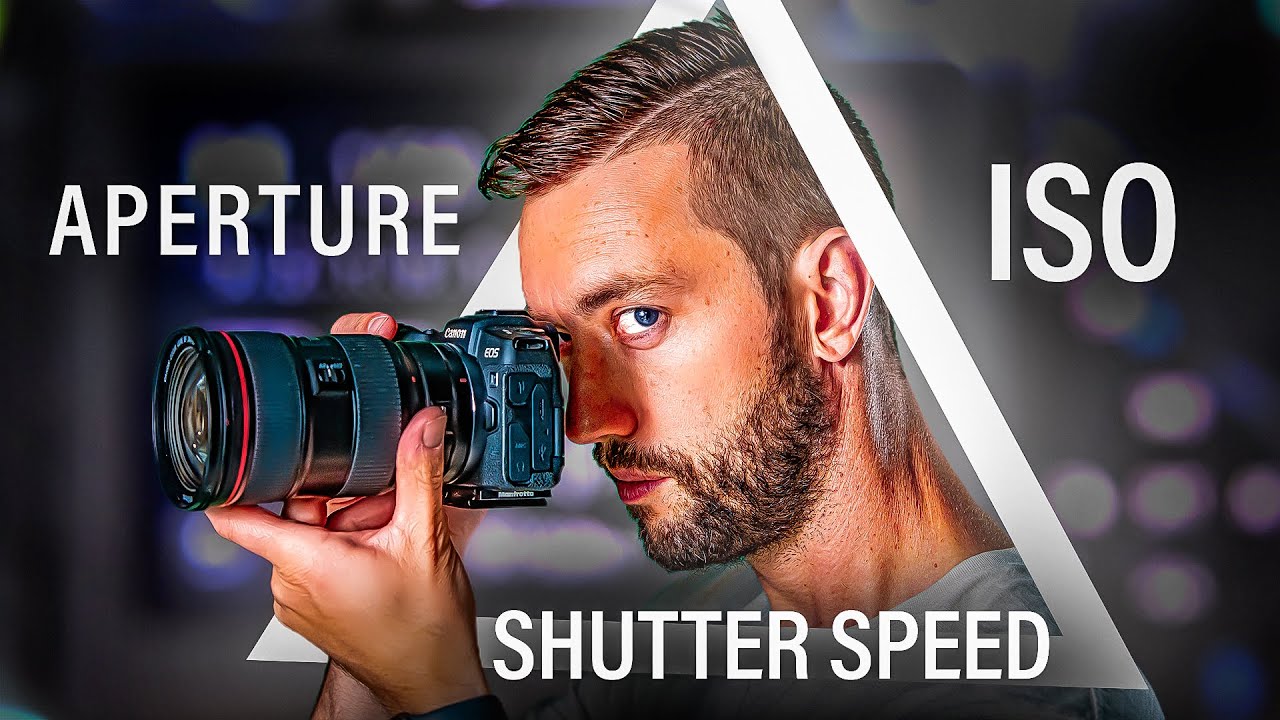
Mastering ISO, Aperture, and Shutter Speed in DIY Product Photography: A Comprehensive Guide
In the realm of DIY product photography, mastering ISO, aperture, and shutter speed is paramount. These three pillars hold the key to unlocking stunning imagery that captivates your audience. Whether you’re an aspiring photographer or a seasoned pro looking to enhance your skills, this guide is your roadmap to success. Let’s delve into the intricacies of ISO, aperture, and shutter speed and how they intertwine to create visually striking product photos.
Understanding ISO
ISO, or International Organization for Standardization, in photography, refers to the sensitivity of your camera’s sensor to light. A higher ISO setting makes the sensor more sensitive, ideal for low-light conditions, while a lower ISO setting is suitable for well-lit environments. Mastering ISO involves finding the balance between capturing enough light without introducing excessive noise into your images.
Exploring ISO Settings
When mastering ISO, familiarize yourself with your camera’s ISO settings. Experiment with different ISO levels to understand how they affect the exposure and quality of your photos.
Techniques for Optimizing ISO
To optimize ISO in DIY product photography, start with the lowest ISO setting possible to maintain image quality. Increase the ISO gradually only when necessary to avoid introducing noise.
Unraveling Aperture
Aperture, often referred to as the f-stop, determines the size of the opening in your lens through which light enters the camera. Understanding aperture is crucial as it influences both exposure and depth of field in your photos.
Grasping Aperture Values
Aperture values are represented in f-stops, such as f/1.8, f/5.6, etc. A lower f-stop means a wider aperture, allowing more light to enter the camera. Conversely, a higher f-stop results in a narrower aperture, ideal for achieving a greater depth of field.
Utilizing Depth of Field
Mastering aperture empowers you to control the depth of field in your product photos. A wide aperture (low f-stop) creates a shallow depth of field, perfect for isolating subjects against a blurred background. In contrast, a narrow aperture (high f-stop) expands the depth of field, keeping more elements in focus.
Deciphering Shutter Speed
Shutter speed dictates the duration for which your camera’s shutter remains open, determining how motion is captured in your photographs. Mastering shutter speed is essential for freezing fast-paced action or creating captivating motion blur effects.
Grasping Shutter Speed Measurements
Shutter speed is measured in fractions of a second, such as 1/500, 1/100, etc. A faster shutter speed freezes motion, making it ideal for capturing crisp, detailed product shots. Conversely, a slower shutter speed introduces motion blur, lending a sense of dynamism to your images.
Experimenting with Motion Effects
By mastering shutter speed, you can unleash your creativity in DIY product photography. Experiment with different shutter speeds to convey movement or freeze action, adding visual interest to your product compositions.
Tips for Mastering ISO, Aperture, and Shutter Speed Together
Achieving mastery in ISO, aperture, and shutter speed requires practice, experimentation, and a keen eye for detail. Here are some tips to help you harness the full potential of these fundamental photography principles:
- Practice Regularly: Dedicate time to practice shooting in various lighting conditions to gain a deeper understanding of how ISO, aperture, and shutter speed interact.
- Understand Your Gear: Familiarize yourself with your camera’s capabilities and limitations to make informed decisions when adjusting settings.
- Embrace Trial and Error: Don’t be afraid to experiment with different combinations of ISO, aperture, and shutter speed to achieve the desired results.
- Review and Learn: Take the time to review your photos critically, noting how different settings impact the overall look and feel of your images.
- Seek Inspiration: Draw inspiration from professional photographers and online resources to fuel your creativity and expand your skillset.
Mastering ISO, Aperture, and Shutter Speed in DIY Product Photography
Mastering ISO, aperture, and shutter speed in DIY product photography is a journey of exploration and discovery. By honing your skills in these key areas, you’ll unlock endless possibilities for capturing stunning product imagery that leaves a lasting impression on your audience.
FAQs
- How do ISO, aperture, and shutter speed work together?
ISO, aperture, and shutter speed work in tandem to control the exposure and creative aspects of your photographs. By balancing these settings, you can achieve the desired brightness, depth of field, and motion effects in your images.
- What is the ideal ISO setting for product photography?
The ideal ISO setting for product photography depends on the lighting conditions and desired image quality. In well-lit environments, aim for a low ISO setting (e.g., ISO 100) to minimize noise. In low-light situations, gradually increase the ISO while monitoring noise levels.
- How does aperture affect product photography?
Aperture plays a crucial role in product photography by controlling the depth of field. A wide aperture (low f-stop) creates a shallow depth of field, perfect for isolating products against a blurred background, while a narrow aperture (high f-stop) expands the depth of field, keeping more elements in focus.
- What shutter speed is suitable for capturing product images?
The appropriate shutter speed for product photography depends on the level of motion in your scene. For still product shots, use a faster shutter speed to eliminate motion blur and ensure sharpness. If capturing products in motion, experiment with slower shutter speeds to convey a sense of dynamism.
- How can I avoid overexposure when adjusting ISO, aperture, and shutter speed?
To avoid overexposure, strive to strike a balance between ISO, aperture, and shutter speed. Start by setting the ISO to the lowest acceptable level, then adjust the aperture and shutter speed accordingly to achieve proper exposure. Utilize the camera’s histogram to monitor exposure levels and make necessary adjustments.
- What are some common mistakes to avoid when mastering ISO, aperture, and shutter speed?
Common mistakes include relying too heavily on automatic modes, neglecting to check exposure settings before shooting, and overlooking the impact of lighting conditions on image quality. To avoid these pitfalls, take a proactive approach to learning and continuously refine your technique through practice and experimentation.
Conclusion
Mastering ISO, aperture, and shutter speed in DIY product photography is a transformative journey that empowers you to unleash your creativity and elevate your visual storytelling. By understanding the nuances of these fundamental principles and honing your skills through practice and experimentation, you’ll unlock the full potential of your camera and capture captivating product imagery that resonates with your audience.