
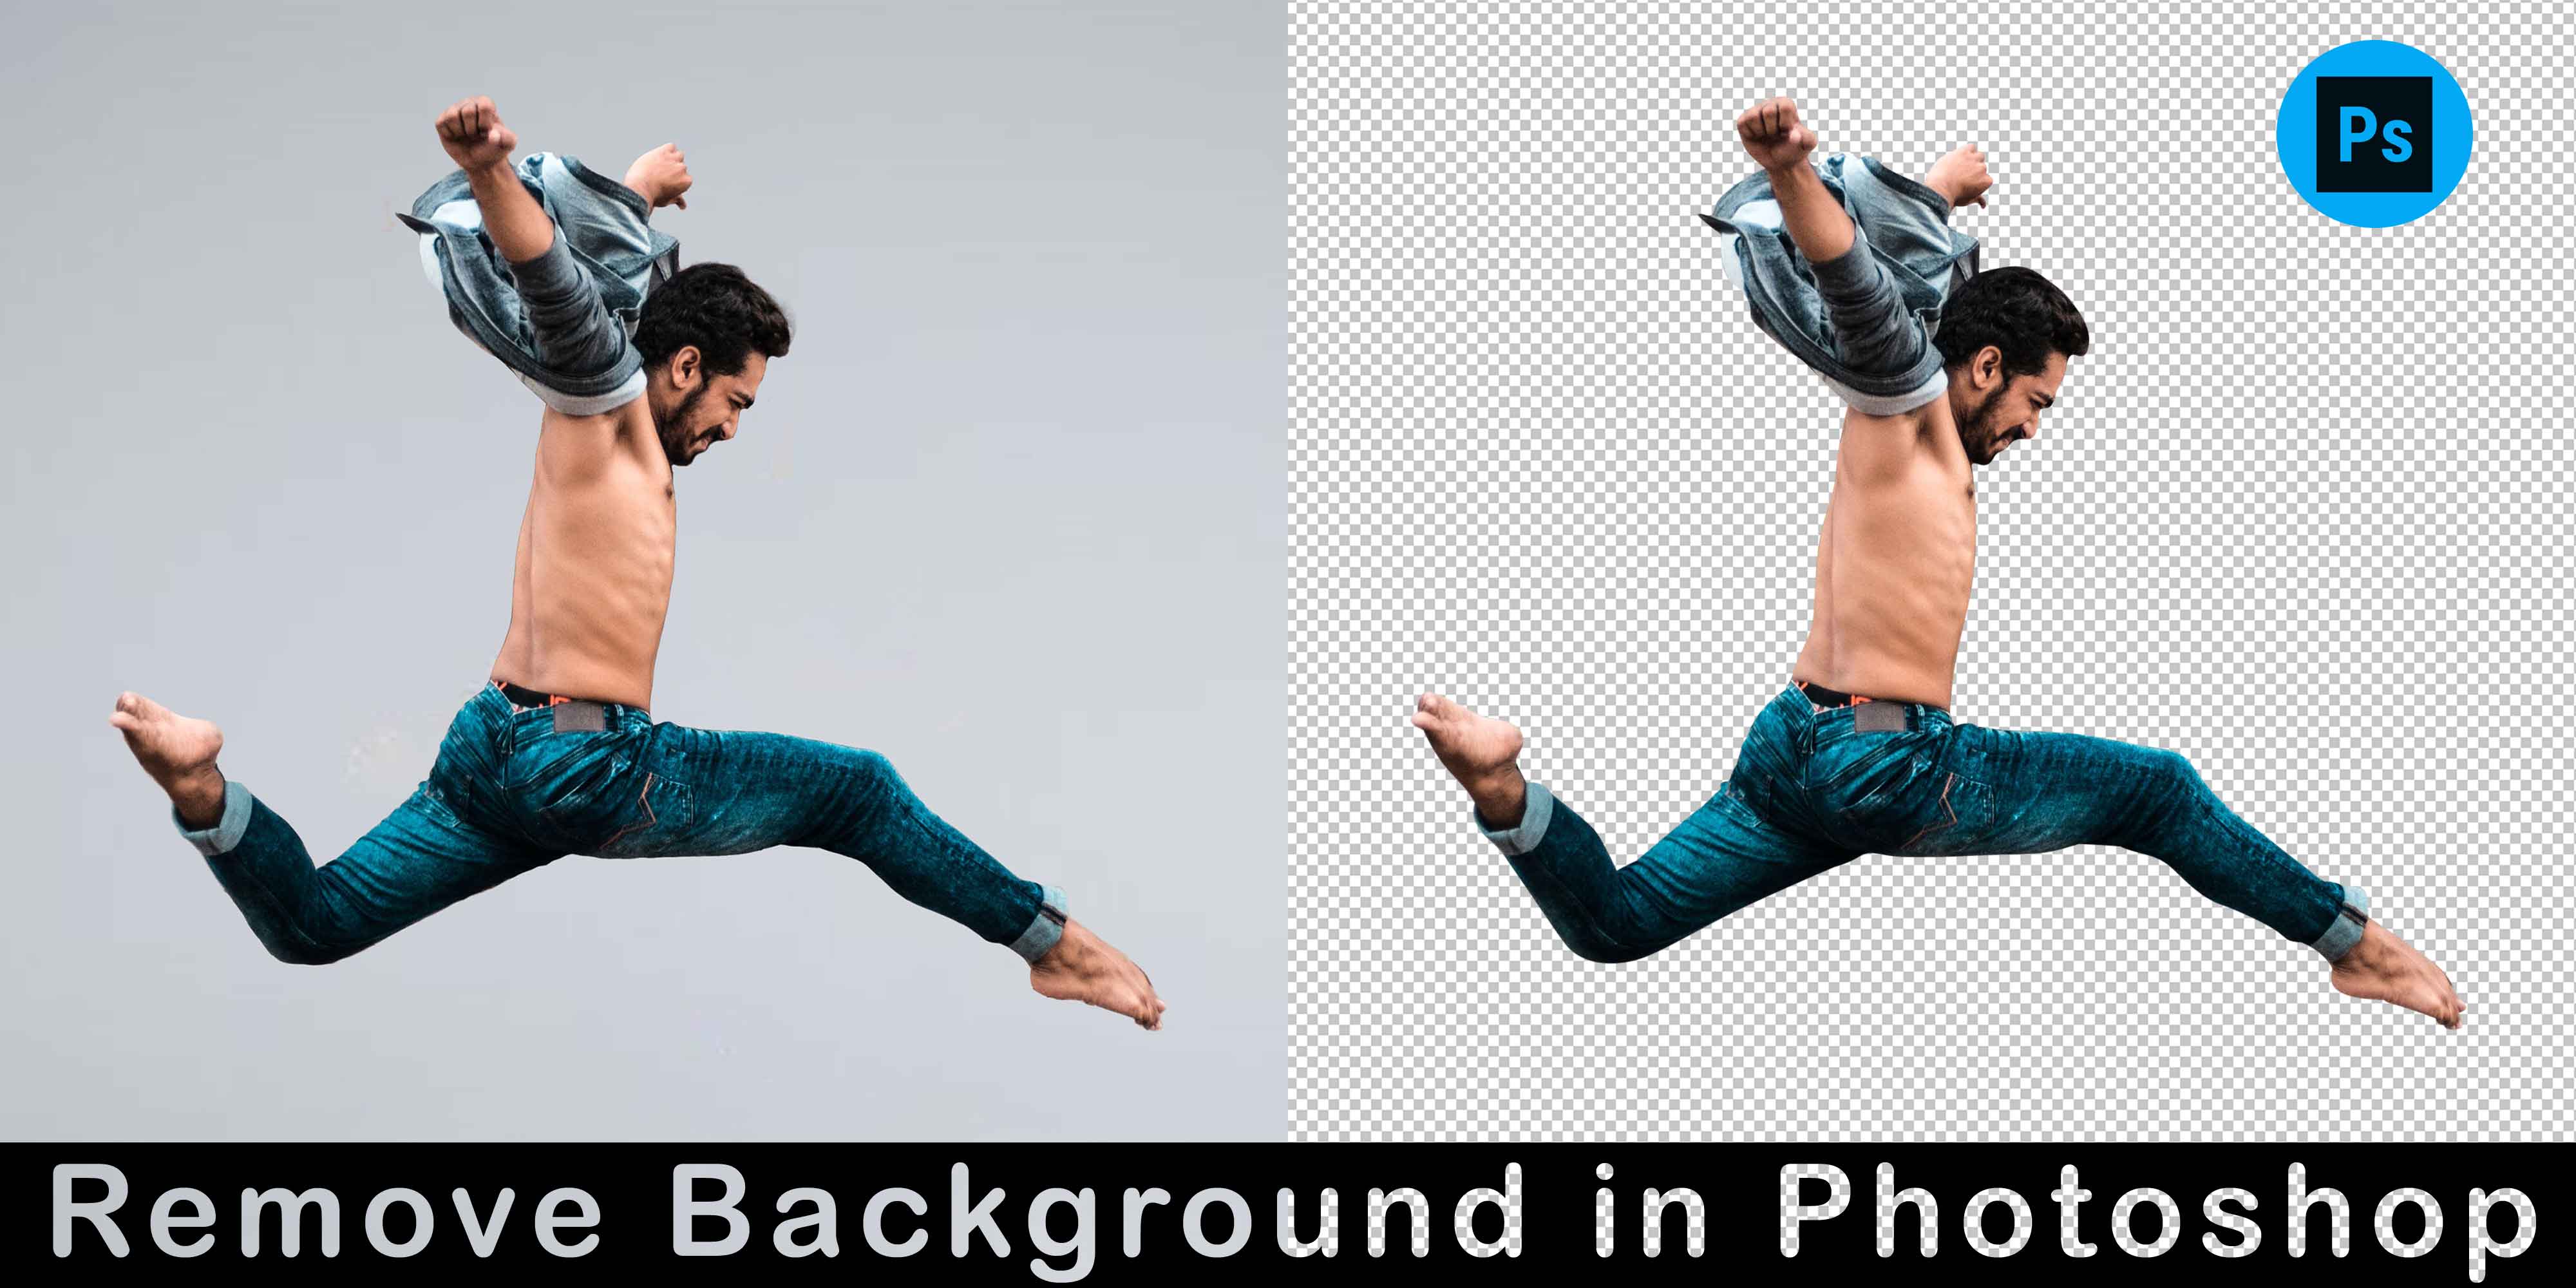
How to Remove Background from Hair in Photoshop
How to Remove Background from Hair in Photoshop
Learn how to remove the background from your photos with this step-by-step Photoshop tutorial, covering hair on white background and other challenges for designers and photo editors.
How to Remove Hair from White Background in Photoshop
- Set up layers to edit hair on a white background
- Protect your original image file
- Create a high-contrast background
- Remove the background from around the hair
- Reduce Tolerance settings to remove low-contrast background areas
- Remove the rest of the background
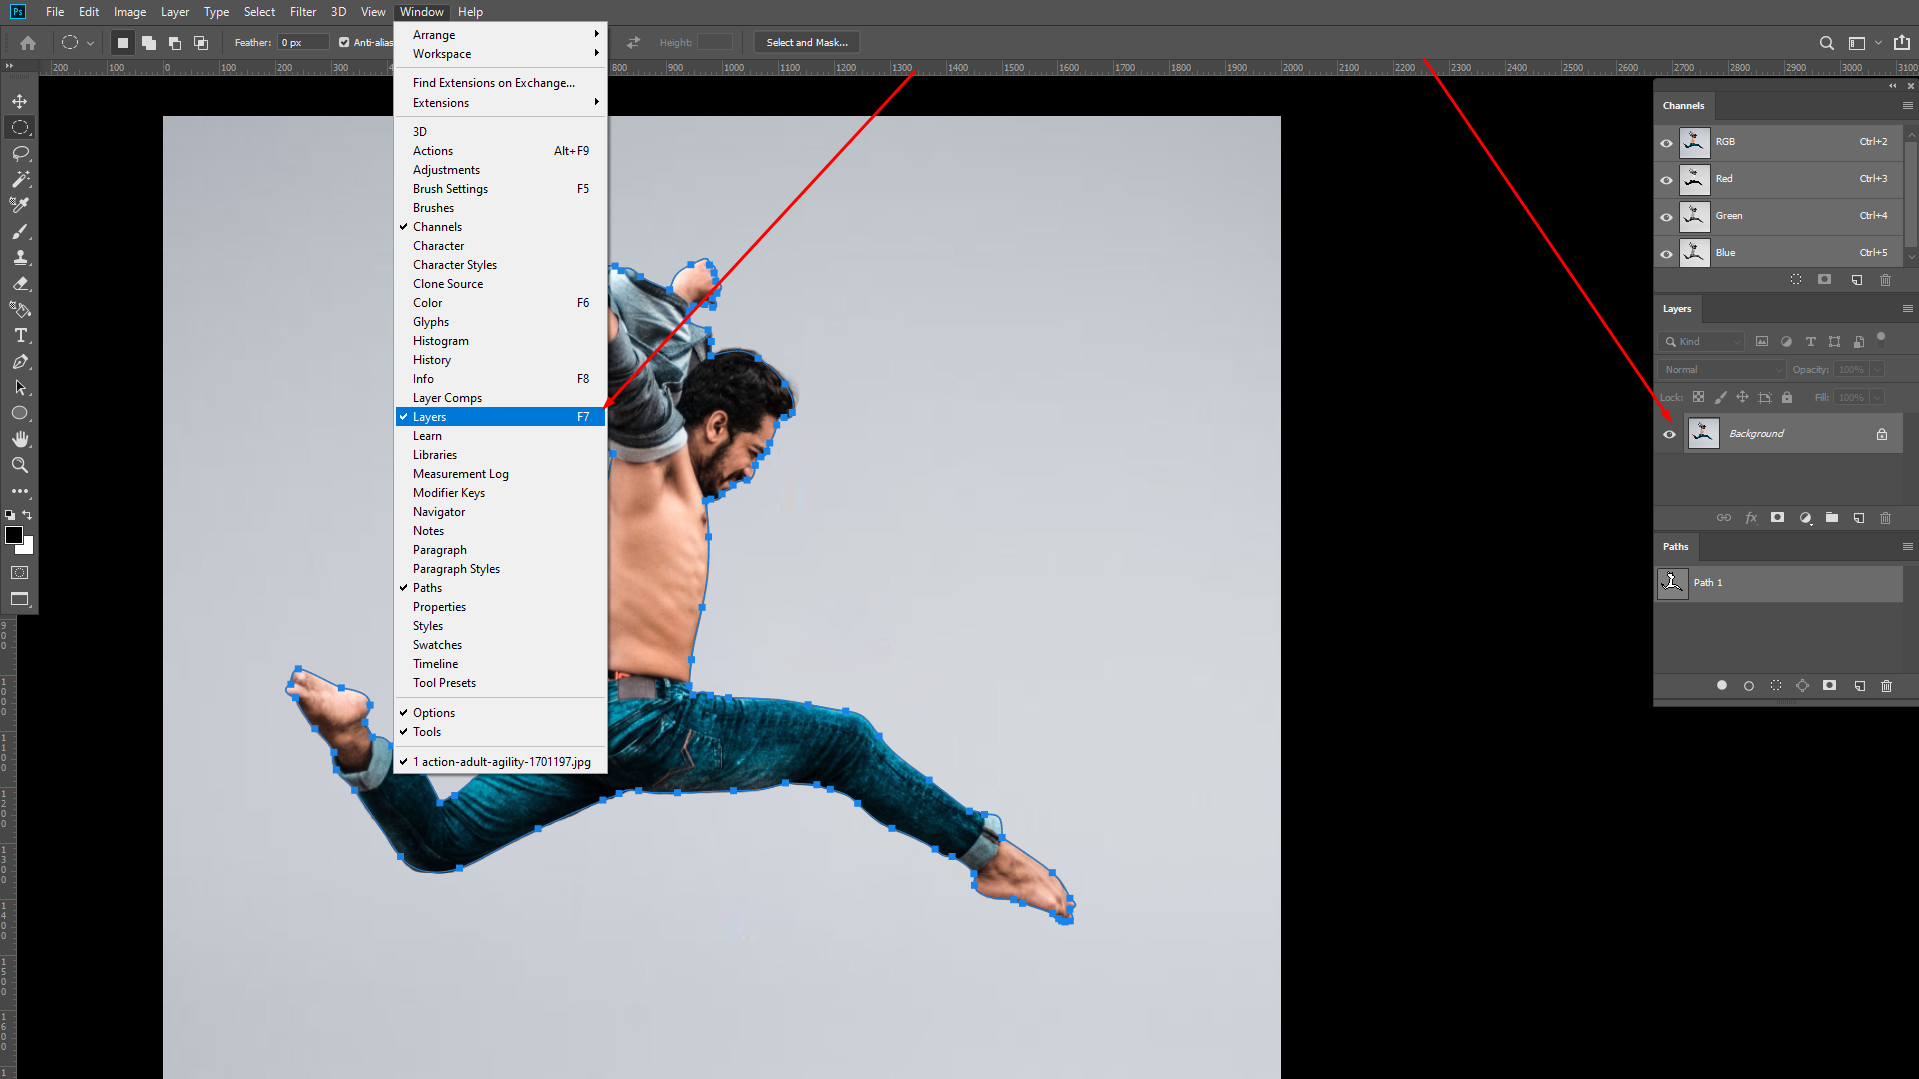
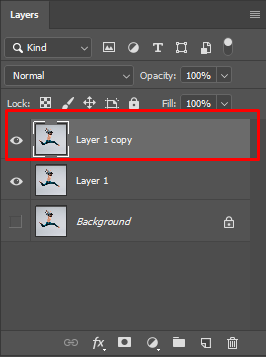
Step 1: Set up layers to edit hair on a white background
Make sure the layers panel is open. Your screen should look like this:
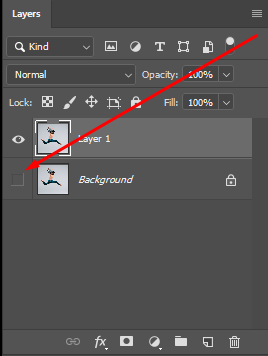
Step 2: Protect your original image file
Duplicate your original layer and then turn it off so that you can easily start again if you make a mistake. Right-click on the background layer in the layers panel and click duplicate layer..
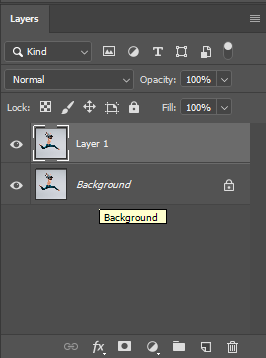
Next, click on the eye icon next to the original layer to turn it off for now.
Step 3: Create a high-contrast background
Now you’ll need to add a vivid color to make it clear exactly what it is you’re editing. Instead of simply using a white background and erasing around the edges, you can use a bright color that will show exactly which areas you have begun to cut out. This works particularly well if the original background you’re working with is a light color.
Once you’ve cut out the image entirely and are ready to put it into a new background, you can get rid of this bold color. Create a new layer by clicking on the page icon at the bottom of the layers panel.
Use the Paint Bucket tool to fill the new layer with a vivid color by clicking anywhere on the canvas, while the new layer is selected.
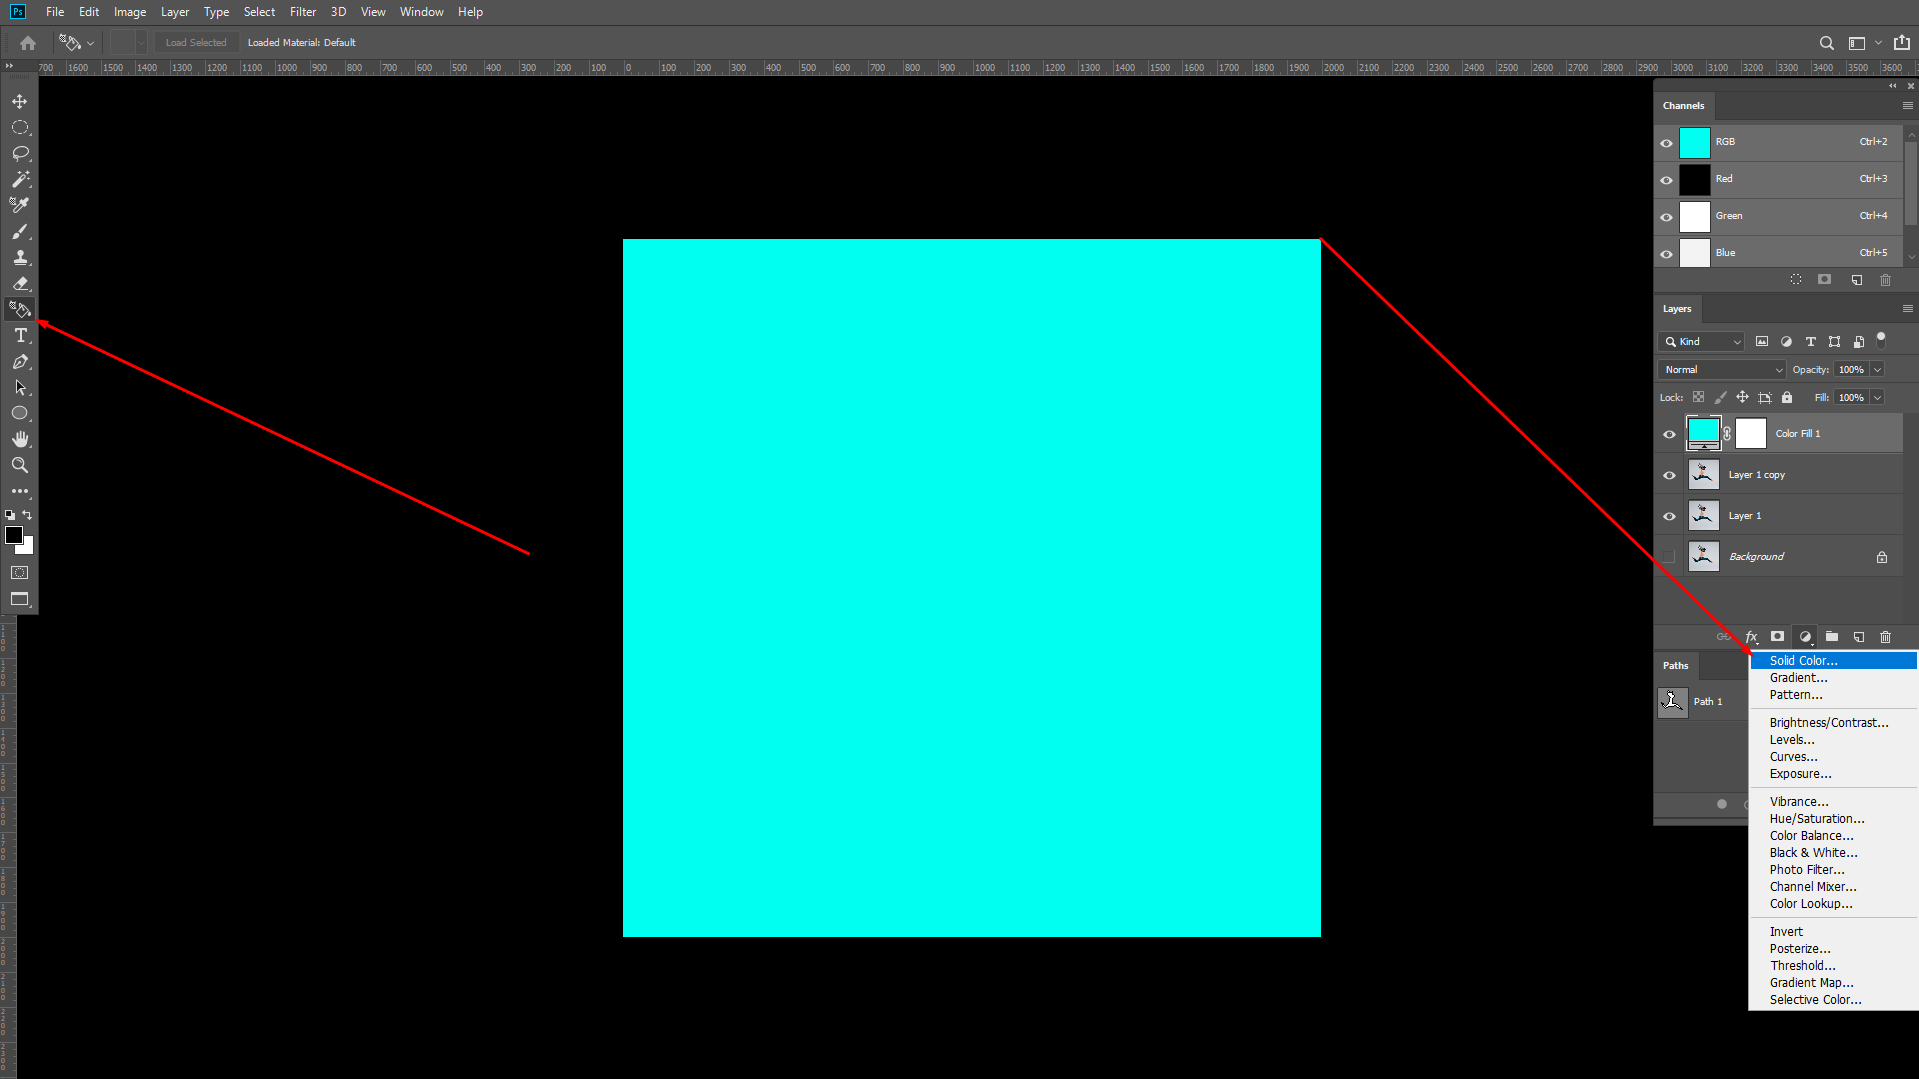
Move the new color layer underneath your duplicated photo layer. It will disappear to the naked eye, but it will still be there when you start to edit the photo. Just drag and drop it with your mouse.
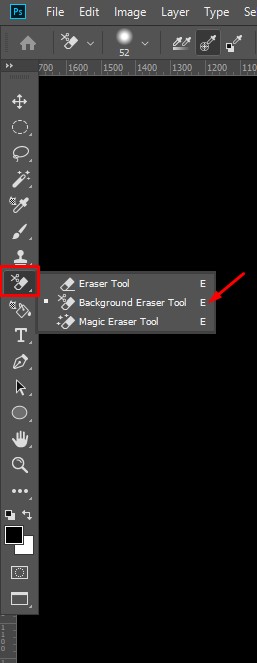
Step 4: Remove the background from around the hair
Select the Background Eraser Tool from the tools panel.
As this background is a solid color, you’ll need to use the Background Swatch sampling method and make sure the background color is set to as close to the main background color as possible. In this case, we have a solid white.
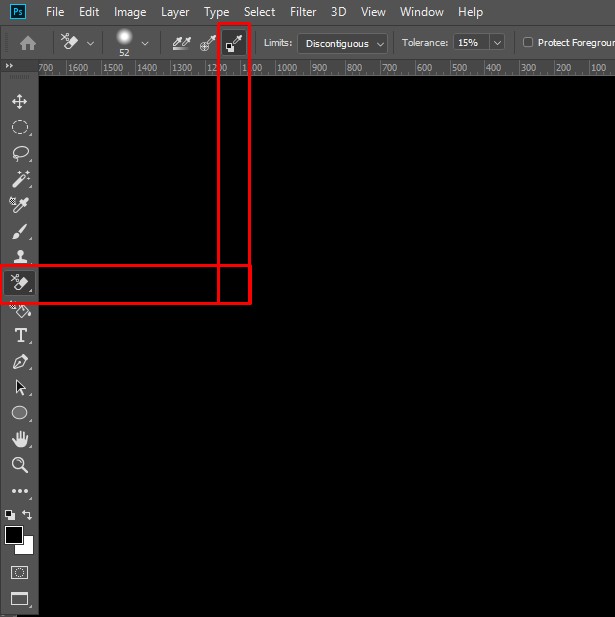
Make sure Discontiguous and Protect Foreground Color are selected. The Discontiguous setting prevents Photoshop from blending the color into the foreground, helping you to keep the two layers separate so that you can carry on editing.
However, this doesn’t always work on its own, so by selecting the Protect Foreground Color, Photoshop will keep the two layers entirely separate and make sure you don’t accidentally take out any of the original image while you’re cutting out the background.
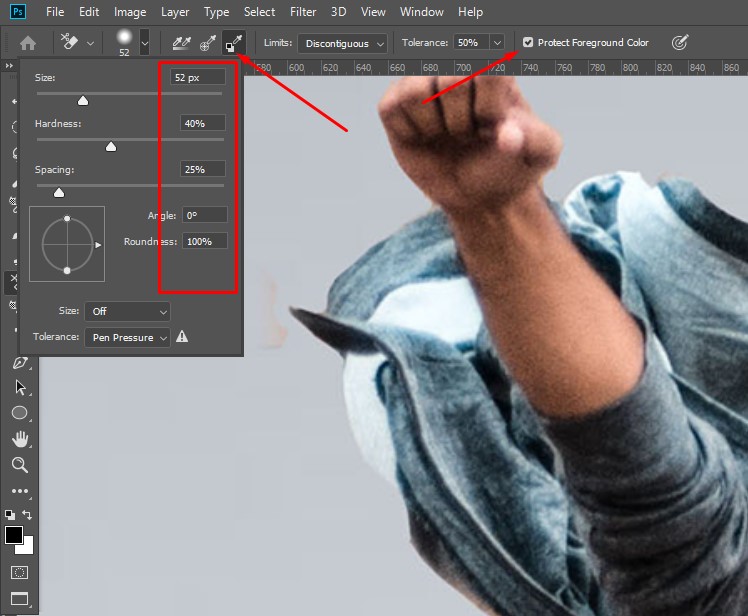
The next settings will depend on your image. Start with the brush settings you see above and tweak them if they don’t quite work for your example.
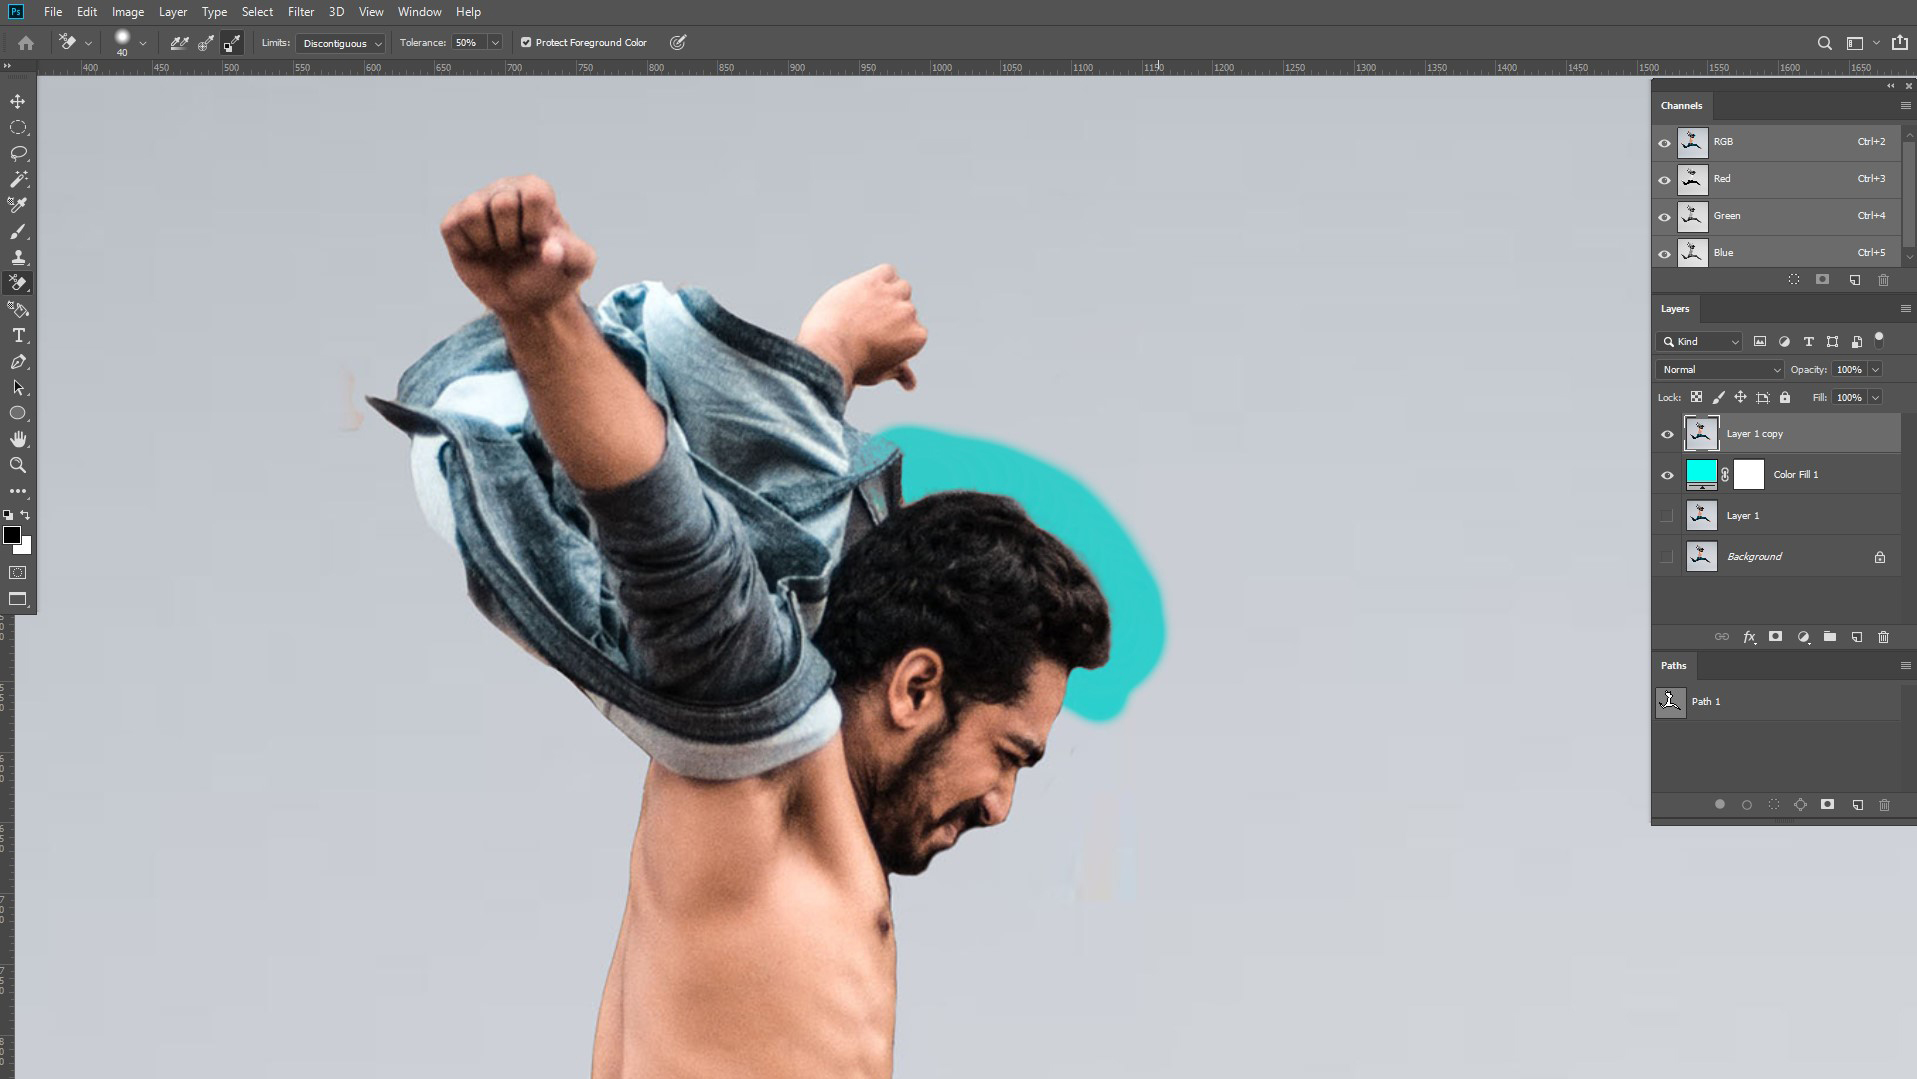
Step 5: Reduce Tolerance settings to remove low contrast background areas
As you can see, the light-colored scarf is far closer to the background color than the hair, so we need to reduce the Tolerance setting to compensate. In this case, 5% works well. We’ve also reduced the brush size down to 30 to give us more control over the area we’re editing.

Step 6: Remove the rest of the background
Now that the finer work is finished, we can begin removing the rest of the white with 50% Tolerance and a larger brush again.

Rather than cutting out each individual section, Photoshop will assess the difference in colors and draw a rough outline based on what it considers to be background and foreground.
For the tutorial on how to remove hair from white background above, we used the Tolerance Setting and Background Eraser Tool because we wanted to manually set how much color we wanted to be able to edit, rather than letting Photoshop determine the difference in colors. The Refine Tool works particularly well for nature shots (leaves on a sky background, for example).
What’s the difference between a clipping path and background removal?
In Photoshop, a clipping path is a vector graphic that outlines an object, like a trace around its edges. Clipping paths are usually used for one of two purposes: cutting an object out or wrapping text around it.
Come for background removal, stay for improved imagery If you choose to get your images clipped, your clipping service will return you an image that looks the same as what you sent them. The background is still there! But if you open it in Photoshop, there will be a line drawn around your product that will let you quickly remove the background yourself if that’s what you need to do.
A clipping path gives you flexibility for the future, but if you know you want the background removed, you might as well go all the way off the bat. Or use a service that does both: for each input, outputs a clipped image and an image with the background removed.
The Best Background Removal Services on the Internet
Are you interested in approaching a background removal service? Or are you dissatisfied with the agency you are currently working with? Either way, this post will come in handy. It is hard to understand from the first glance whether a certain background removal service is a decent one. I’m sure you don’t feel like testing each existing company one by one until you find a suitable option. That’s why I have prepared this objective review of the best background removal services .
If you know what aspects to take into account when searching for an image background removal service, you will be able to make a more informed decision. The criteria, which are listed below, helped me a lot while evaluating the services of the companies I tested for this review.
1. Quality of Background Removal The quality of work is highly important for any service. You will need to visit the company’s website and search for examples of edits. If you see that the number of image examples is more than enough and the quality is satisfying, don’t hesitate to place an order. If there are no examples at all or the quality of background removal is questionable, I don’t recommend considering this company.
2. Turnaround Time The time from submitting an order to receiving the final result is no less important. In case you need the edit as quickly as possible, find out if the company is capable of finishing the order in the shortest term (within 24 hours). Truly professional companies will remove image background and send you the edited pictures according to the deadline you set, maintaining high quality. They know that time is valuable and will do their best not to let you down.
3. Customer support If you see that the customer support doesn’t react to your inquiries or it takes too long for them to respond, it is a clear sign that the company doesn’t respect its clients and doesn’t appreciate that you want to use their services. In this case, cancel the order and search for a more professional and responsive platform.
Who Needs Background Removing Service?
People who are working with photographs needed this service most. We have worked with both individuals as well as companies, fashion houses, etc. Background removing services are very important in online shopping sites like Amazon eBay Aliexpress Flipkart, etc. And, these websites have their own rules to upload products or model images on their sites. Also, the rules are strict enough that you cannot avoid them.
Every e-Commerce sector, ad firm, digital marketing platform, model firm, photography institute must need this service to give their image a professional look and also to stand out in the competition.
Clipping World always there at your service. We have 120+ professional designers to process your image background. With over 10+ years of experience in this market, we always try to boost your business with our creative work. Let’s try our FREE TRIAL!!
sunil kumar
I have a good team photo editing and retouching background removel masking shadow cut out and etc,