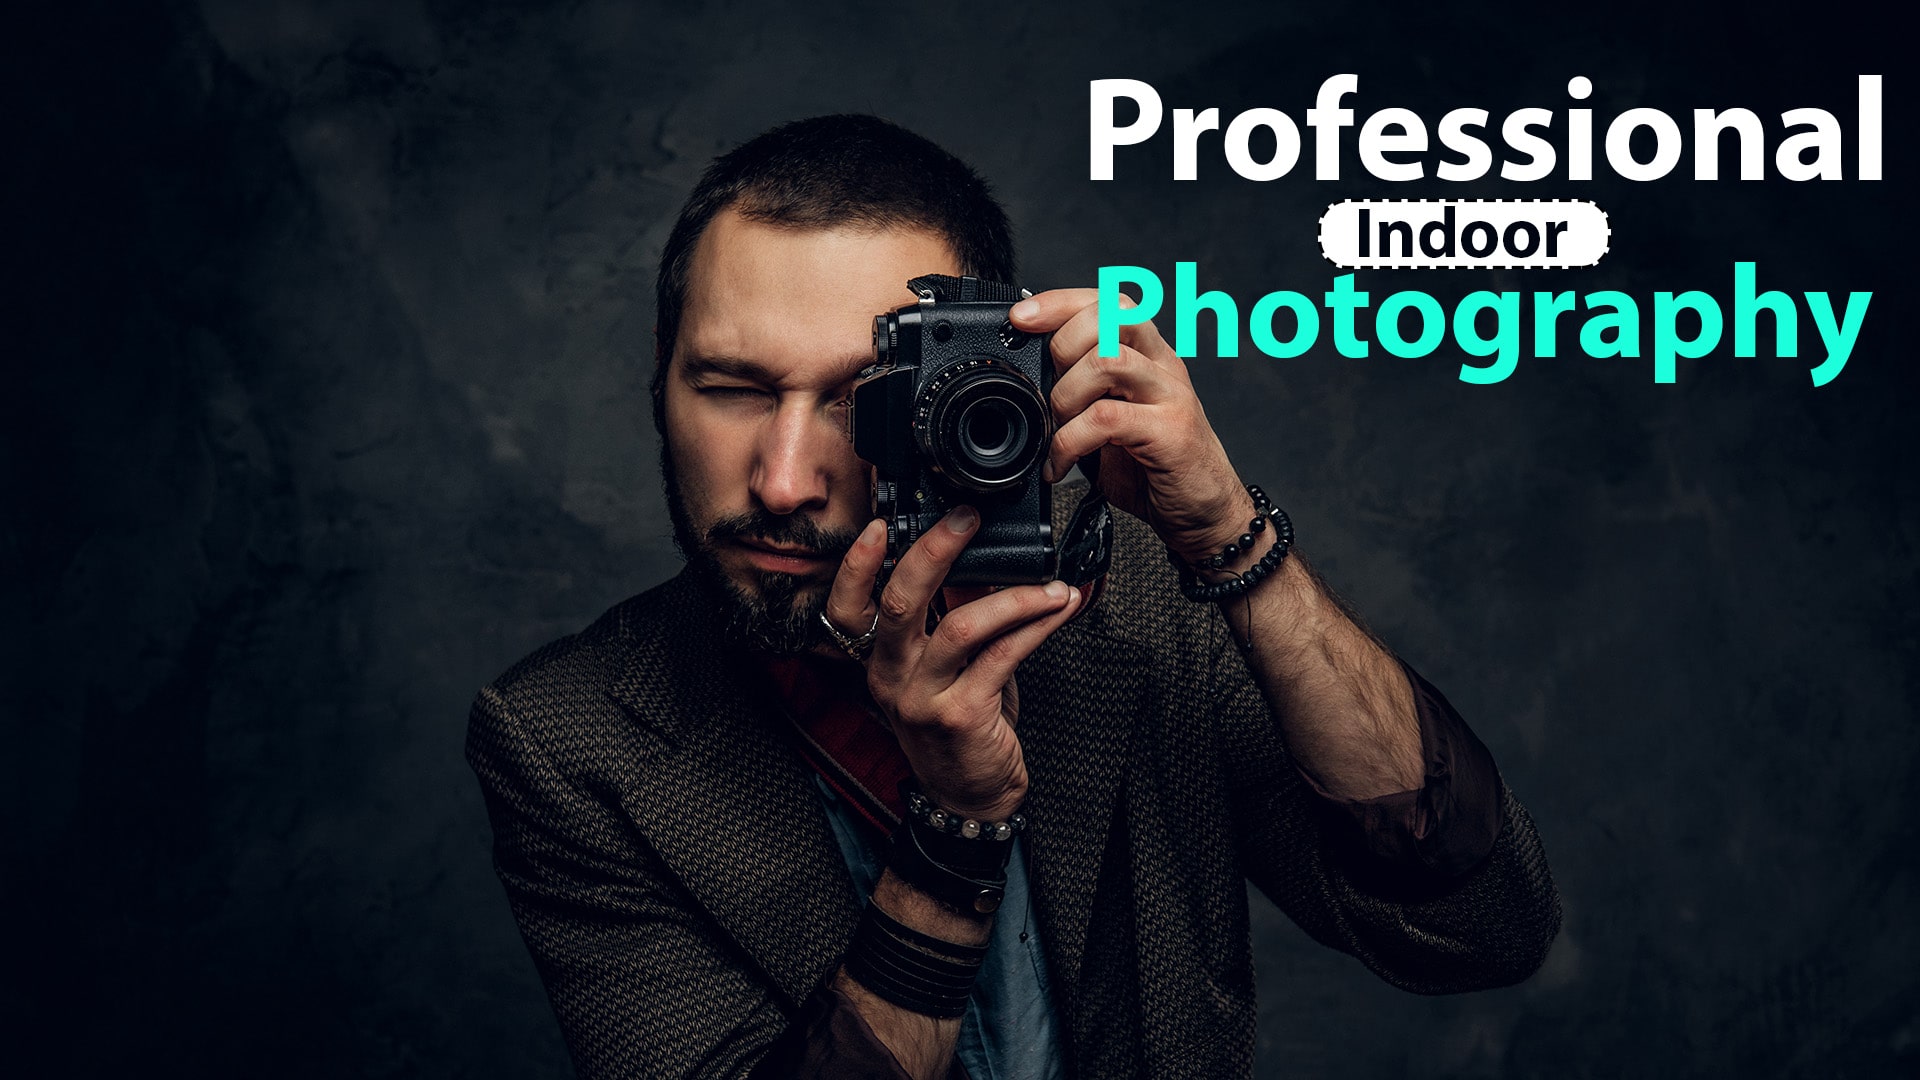
In this post, we will show you how to take professional indoor photography like a pro. There are many different ways of achieving the perfect shot indoors and it’s up to you as the photographer to figure out which technique is best for your subject. We’ll go over everything from camera settings and lighting techniques all the way down to what type of lens is best for shooting indoors. So if you’re looking for some helpful tips on taking amazing shots in an indoor setting then keep reading!
The Professional Indoor Photography Ideas
Professional indoor photography can be a difficult endeavour. There are many factors that come into play when you’re taking indoor photos, such as the light and its direction. In this blog post, we will discuss how to make indoor photography less complicated: from lighting considerations to camera settings for indoor use. You’ll also find tips on what type of equipment you should have before shooting indoor photos!
In order to have great indoor photos, you’ll need a few things. First of all, make sure the light is coming from an angle that will illuminate your subject well. It’s also important to use natural lighting whenever possible instead of relying on artificial lights and other equipment – this ensures that there are no harsh shadows or glare. When it
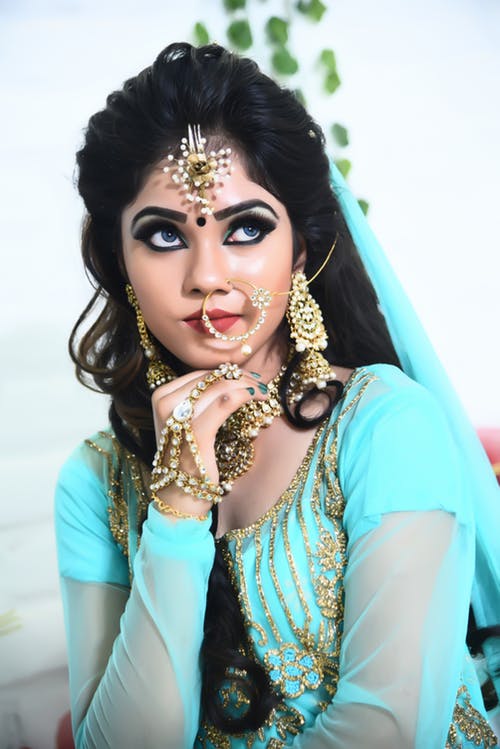
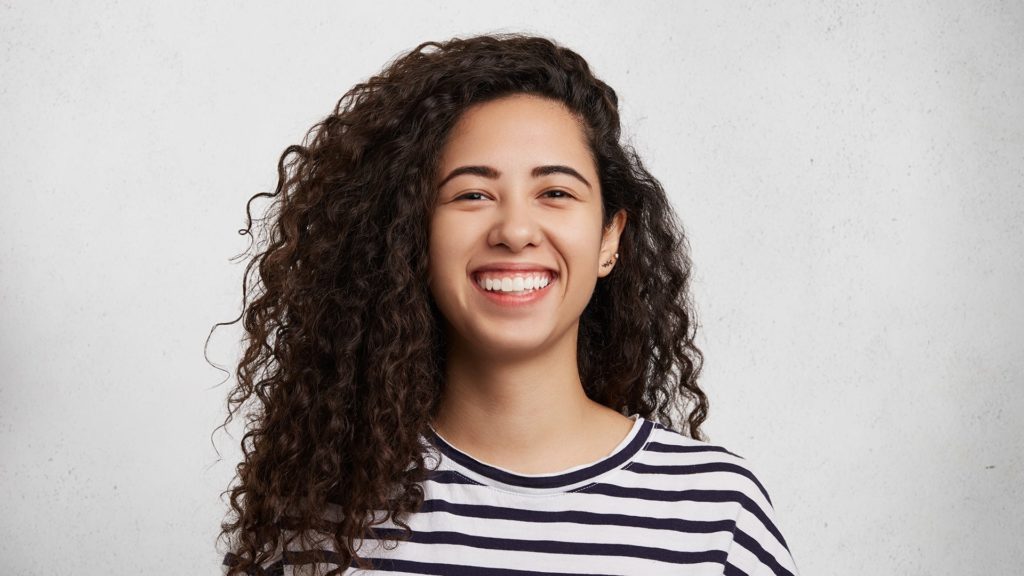
Indoor portrait photography ideas
The best way to get great indoor portrait photography is to take your subject outside. You might be thinking, “but I’m inside.” This is true, but that doesn’t mean you can’t use natural light! If there’s a window in the room where you’re taking indoor photos, set up near it and place your subject so they are facing the sun or towards the brightest part of daylight entering from the window. The sunlight coming through will illuminate their face beautifully — even if they have darker skin tones like many Africans do.
It’s also best not to rely too heavily on artificial lighting for indoor portraits because this can create harsh shadows and glare – as well as unflattering-looking reflections off glass surfaces such as windows or mirrors (which happen often indoors)
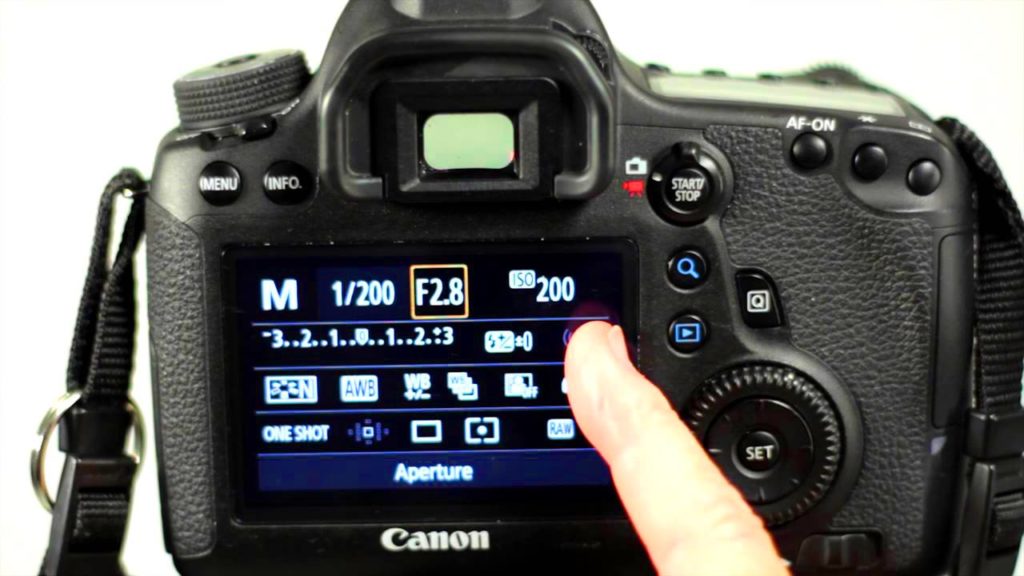
Indoor photography settings
The best setting for indoor photography is the aperture priority mode. This will ensure that you have a fast shutter speed to capture the natural light coming in from windows and other sources, as well as provide an appropriate depth of field so your subject stays in focus.
When it comes to camera settings for indoor use, we recommend using manual exposure with ISO 100 if possible – this ensures there’s enough light to get good quality photos without having too slow of a shutter speed (which can lead to blurry images). If you need more control over how much light enters your shot then try setting your camera’s metering pattern between Evaluative or centre-weighted Average. These options are found under “Exposure” on most cameras’ menu systems
We also recommend shooting at least one
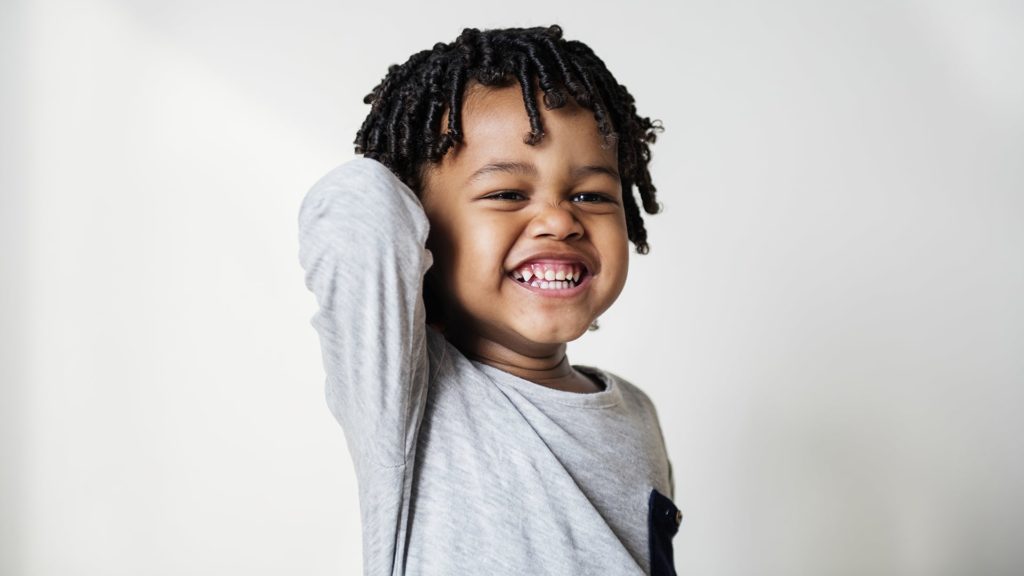
Indoor photography poses
In photography, it’s important to take into account your subject’s body shape and build when you’re posing them. For example, if they are short or heavy-set then standing shots might not be the best option for indoor photography poses because of unflattering angles that can make a person look shorter than they actually are.
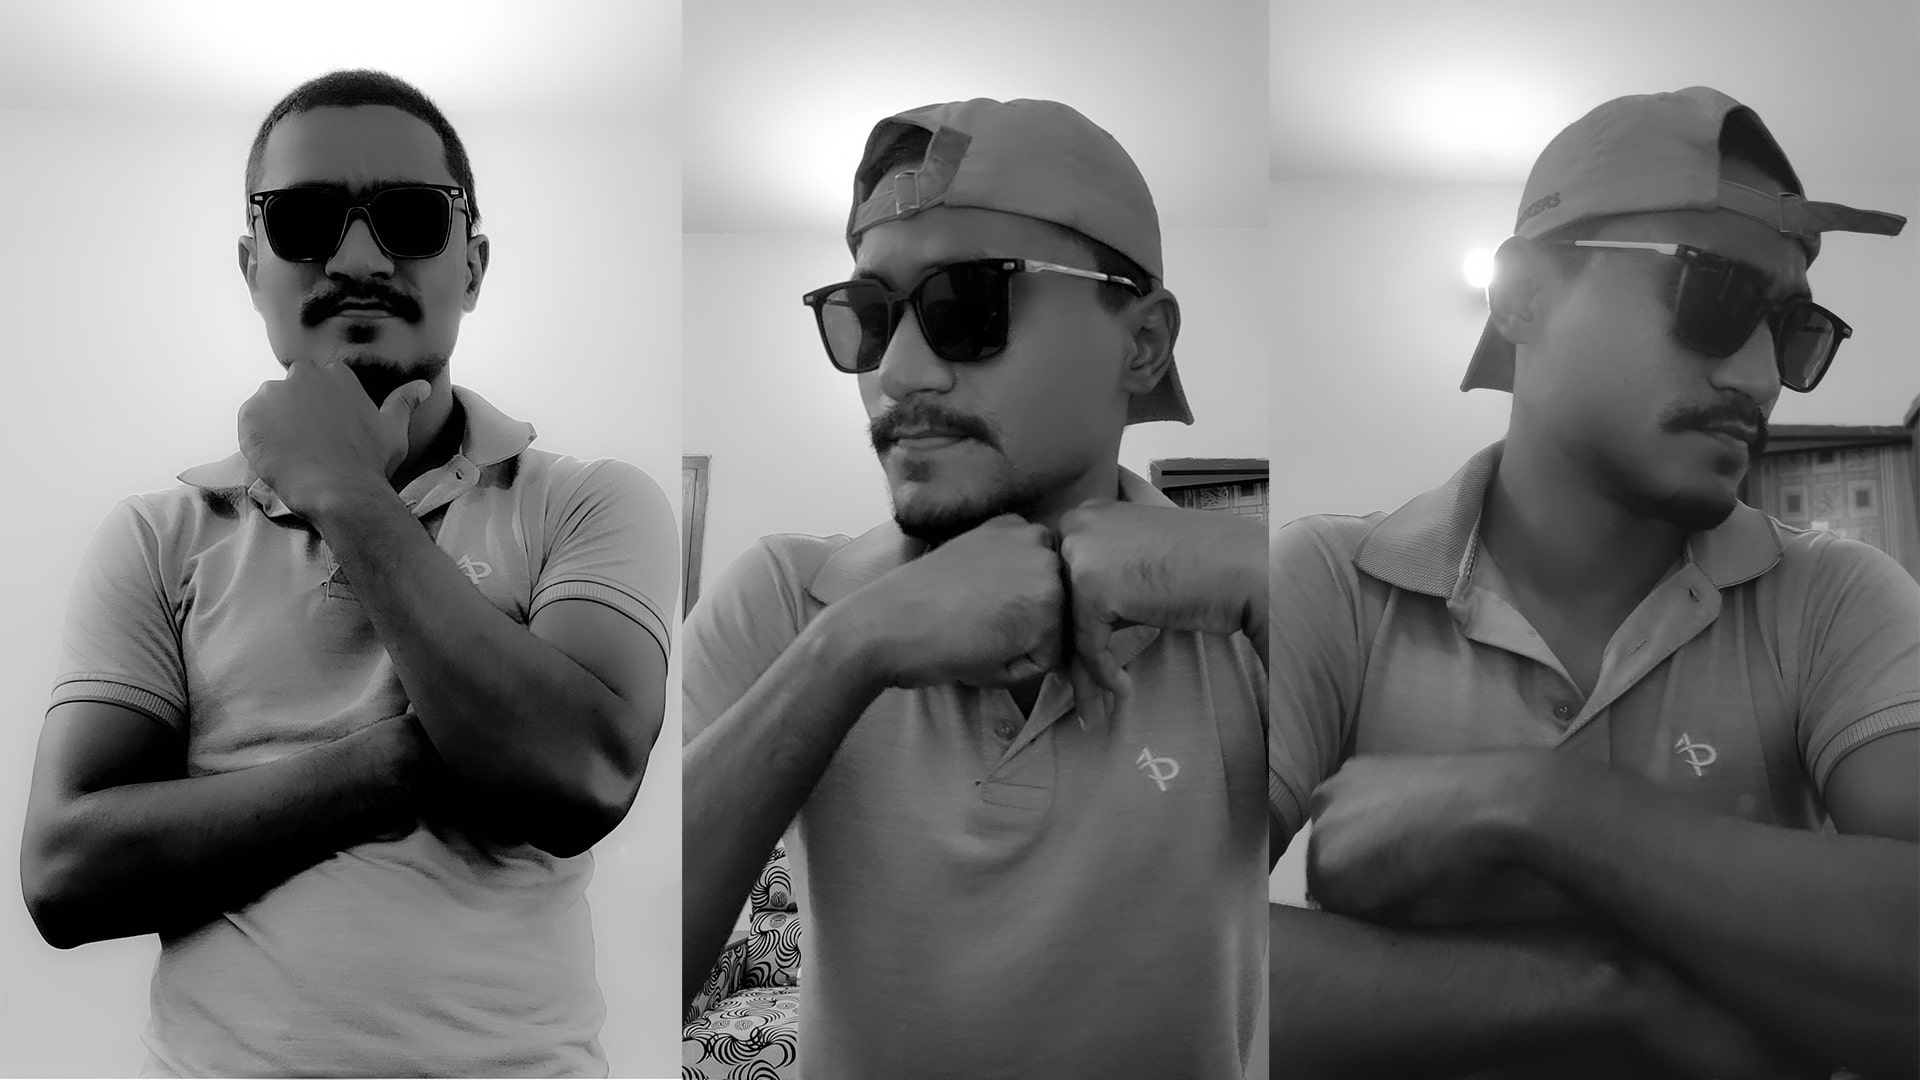
It’s also worth considering what type of clothing they’re wearing – is it loose-fitting or tight? Is there something about how clothes fit on someone which should dictate any specific type of pose? The answer is yes: consider these things before deciding on an indoor photography pose so you’ll get better photos!
Indoor photography lighting setup
When it comes to indoor photography lighting, there are two main types: continuous lights and strobe. Continuous lights provide a good amount of light for taking photos indoors without using flashes because they emit light constantly. Strobe is more commonly used in order to create professional-looking photographs with crisp shadows that you might see when photographers use artificial light sources like flashbulbs.
Lighting setups can also be challenging – consider what type of room or building your subject will be in before deciding on the best setup for them! For example, if your subjects will be sitting at a desk then an overhead fluorescent fixture should suffice as a primary source of illumination. However, if they’ll all standing up instead then maybe adding some side lamps would work better
Types of indoor photography
– Portrait photography: taking photos of people to capture their true personality and capture the way they see themselves.
– Scenery Photography: capturing a building, location or garden through an indoor lens in order to create stunning still life compositions.
– Architectural Photography: showing off the beauty of buildings by using reflective surfaces like glass windows as foreground elements with colourful artificial light sources such as neon lights behind them for dramatic effect. This type is also known as “Stained Glass” shooting because you’re creating images that appear transparent at first but then reveal another layer when seen from different angles – it’s very similar to how stained glass works! – Food Stylist (Food Photographer): designing food shots that are styled and
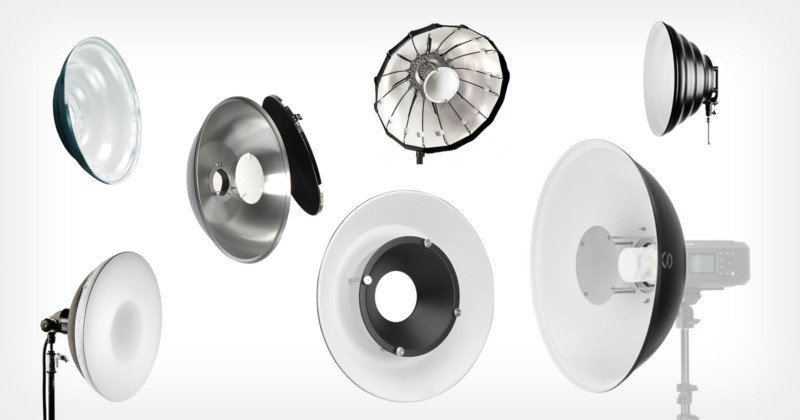
Indoor photography lighting equipment
The best lighting equipment for indoor photography is strobe lights because they provide a more professional-looking look when taking photographs. Continuous lights can be used but you’ll need to use flashes in order to get the same effect. Continuous
lights are good for shooting in a dark environment or when you have an even, constant source of light to work with like fluorescent bulbs
Types of equipment:
– Continuous lights: these provide the best quality and will allow your subject’s face to be lit up well – but they need flashes (or other artificial sources) if you want to create that professional look.
– Strobes/flashbulbs: this type is used more often because it provides better lighting than continuous lights, which can end up looking flat or too bright at times. However, they require batteries or power cords so make sure there’s access nearby before deciding on them!
– Diffusers/reflectors: these tools help direct light where needed without washing
Indoor photography camera settings
The Nikon camera settings for indoor photography are different from outdoor photography because you want to make sure the focus is on your subject instead of their surroundings. To do this, try using a low aperture setting like f/16 or higher to get everything in sharp focus – but don’t go too high!
If you’re taking an image inside with natural light then use a wide-angle lens and set it at around 24mm so that diffused rays can reach all of your subjects. If there’s not much available light then consider adding artificial sources such as flashes or lamps which will provide richer colors, sharper shadows, better depth, and contrast.
Nikon tips for shooting indoors: keep exposures relatively short when working with continuous lights
Conclusion:
The key to great indoor photography is understanding the light. Once you know how it works, you’ll be able to take better pictures without having to worry about expensive equipment or complicated settings. Whether natural or artificial, there are a few best practices for photographing indoors that will help your photos come out looking their absolute best. When all else fails, fill up as much of the frame with what’s in front of you and hope for the best! read more