It is important to position the objects to be photographed correctly in product photography. For this, I need a suitable underlay that is easy to illuminate from all sides and does not depict a disturbing background. Ideally, you can use a photo table or shooting table here *. I want to explain how such a shooting table can be used for product photos.
What are such recording tables used for?
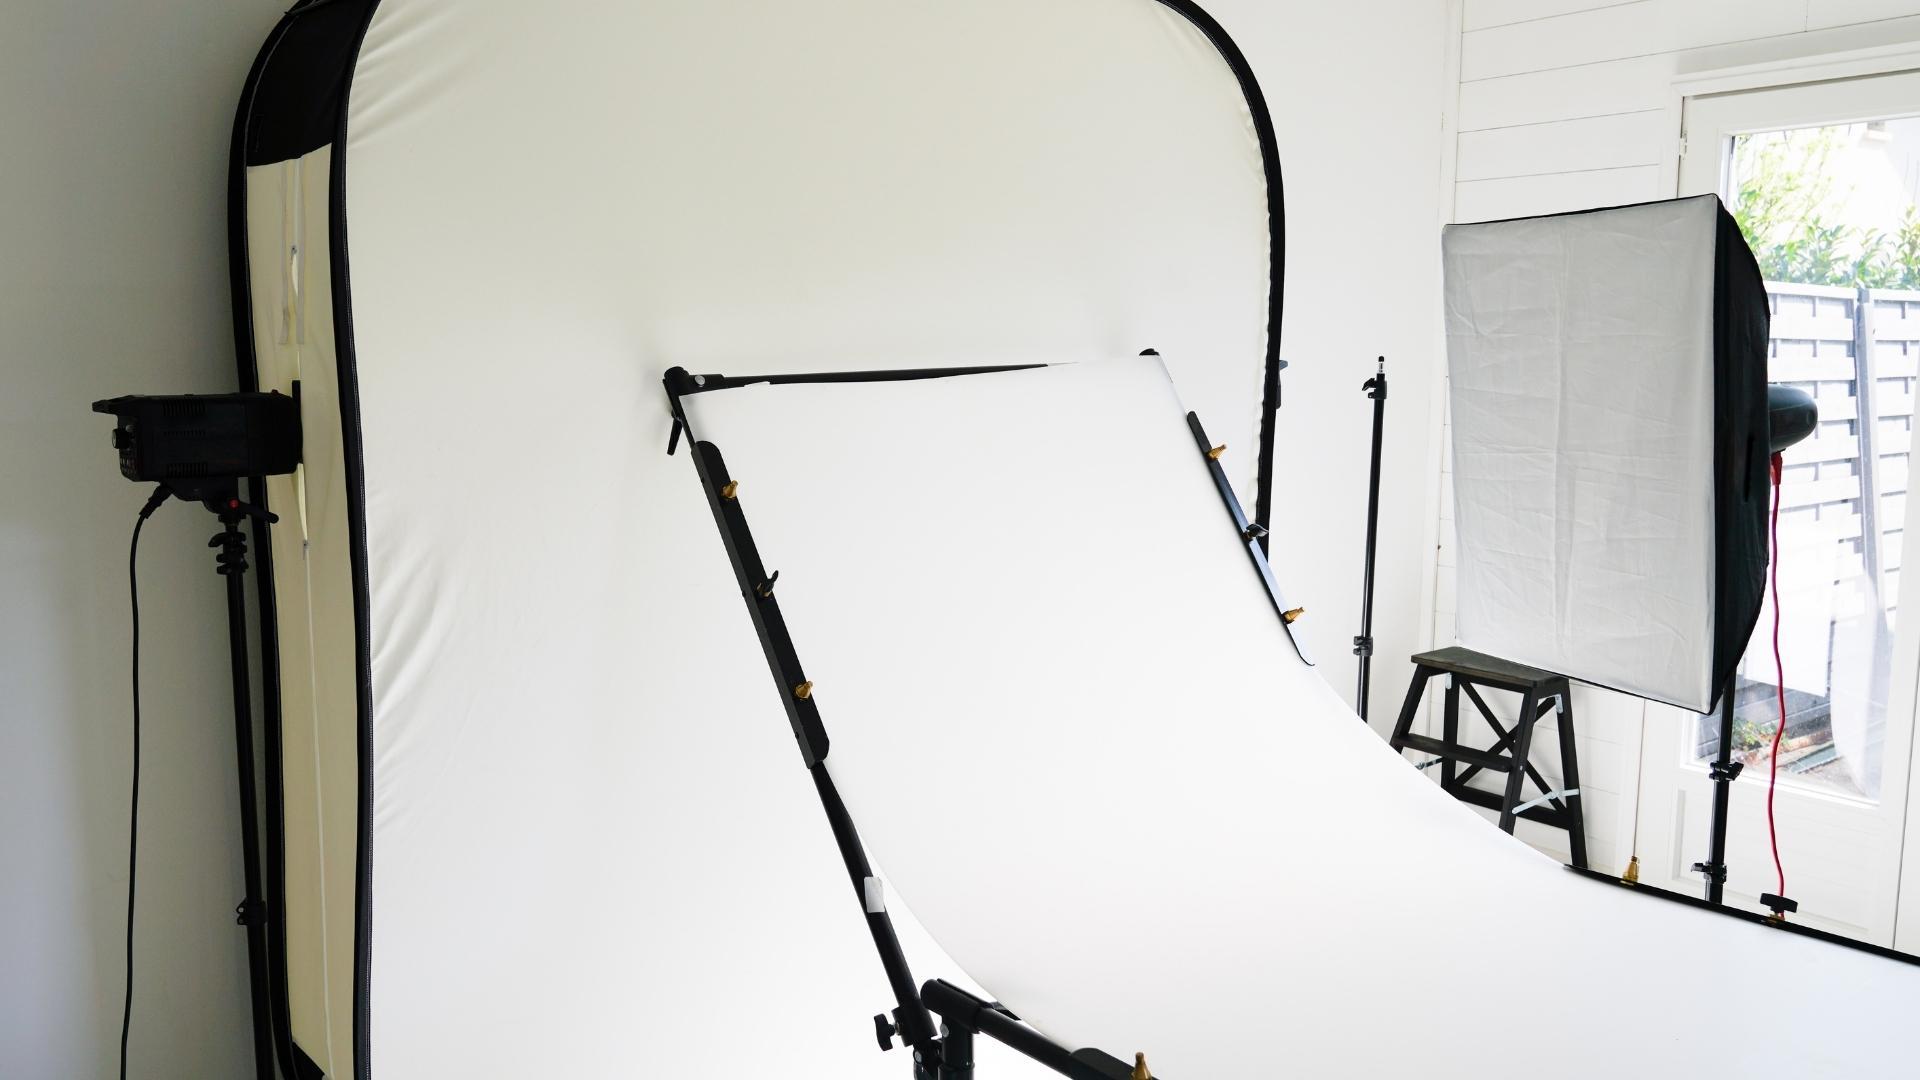
A recording table usually consists of a sturdy frame on which there is a matt white surface on which the light is evenly distributed. At the end of the receiving table, the surface should end in a hollow. I think it’s nice when the surface has a little light transmitted simultaneously. In this way, I have the opportunity to position a light source under the table. This allows me to avoid casting shadows on objects.
Recording tables have an area of around 1 x 1 meter. This height of your feet determines whether you can photograph comfortably standing or stooping. Recording tables are primarily used for product shots. Here you can, for example, photograph cosmetics, jewelry, household items, toys, shoes, and other clothing items without disturbing the background. Understandably, the products must not be too large and should not protrude beyond the table.
What do you photograph on these shooting tables?
A prerequisite for perfect product shots is optimal lighting. First, we have to place the object to be photographed in the middle of the hollow. From the frog’s perspective, I can set up my camera with a tripod in front of the shooting table or directly above the table. The first attempts succeeded without any problems with a simple flash unit. However, for optimal illumination without shadows, I recommend using side photo lights with softboxes that give a soft and uniform light. If the recording table is translucent, I can install an external flash under the table, preventing shadows from being cast behind the object.
The use of a shooting table for product photography is helpful, as perfect shots can be created without subsequent and time-consuming image processing. The side photo lights represent a small challenge, as you still have to correct this. Due to the hollow at the back, the background blurs so that no hard edges are recognizable behind the product.
My conclusion
A shooting table for product photography makes work much easier for photographers. Good photo tables are already available for less than 100 euros. They can be installed quickly, available in different sizes, and easily stowed away when not in use. Some models have a frame with a height of almost 50 cm, so I can recommend using a stool for longer shots. In addition to a recording table, you should also think about suitable lighting. The best shots are taken by using a tripod.