

How to place and use paper studio backgrounds in photography? – Image Work India
If you have a studio you need to work with photographic backgrounds, especially if you do portrait or product photography. Surely you have already thought about the space and which wall of the studio you are going to dedicate to it, but doubts always arise: what supports do I use? How do I attach them? Today we are going to explore the world of photo studio backgrounds a little more.
Types of study funds according to their supports
There are two great options depending on how you are going to place them and fundamentally with respect to a specific need: if you want to leave them fixed on a wall or if you want or can be mobile. Some photographers start by renting a studio only when they need it or by bringing all the material to the clients’ house and doing the shoot there. Others have their own photo studio. There are therefore two main types: the fixed supports and the portable ones.
The supports for rolls of paper, fabric, or vinyl allow us to easily choose the background that we want to use at any time in a fast, safe, and practical way.
The anchors have the function of firmly holding or supporting the funds and placing them at the height we need.
Thus for our study, we will need a combination of both that adjusts to our needs and that allows us maximum versatility in our projects.
Fixed study fund supports
Fixed supports are those that are placed on the ceiling or one of the walls and are permanently attached. With them, you only have to worry about changing one roll for another when you go to work. Some support several tubes at the same time which allows you to have the most common rolls placed and avoid taking up extra space in the studio.
Anchoring systems to the wall or ceiling
These are the most recommended for small studios because they are attached to the wall and take up almost no space. They are much safer than laptops, comfortable and practical. You just have to screw them to the wall and then add the different rollers you want. The rollers are sold separately and depending on the system it will have the capacity for one, two, three rollers, etc.
This is an example of anchoring for a roll:
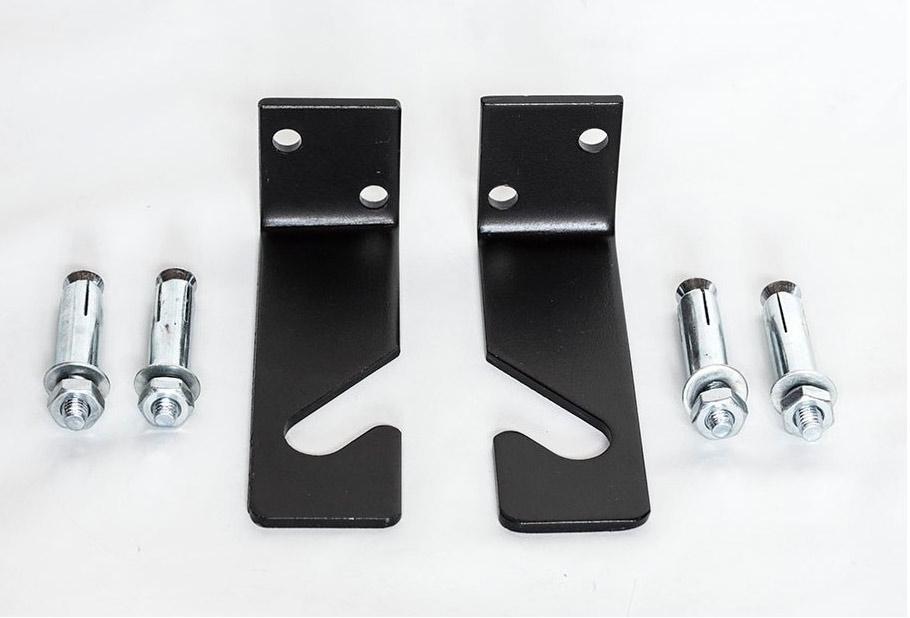
This is a wall mount that can hold three rolls. The kit consists of the wall anchors that are very easy to install and the reel brackets that we will explain later, as well as three chains, one for each roll, to handle them comfortably.
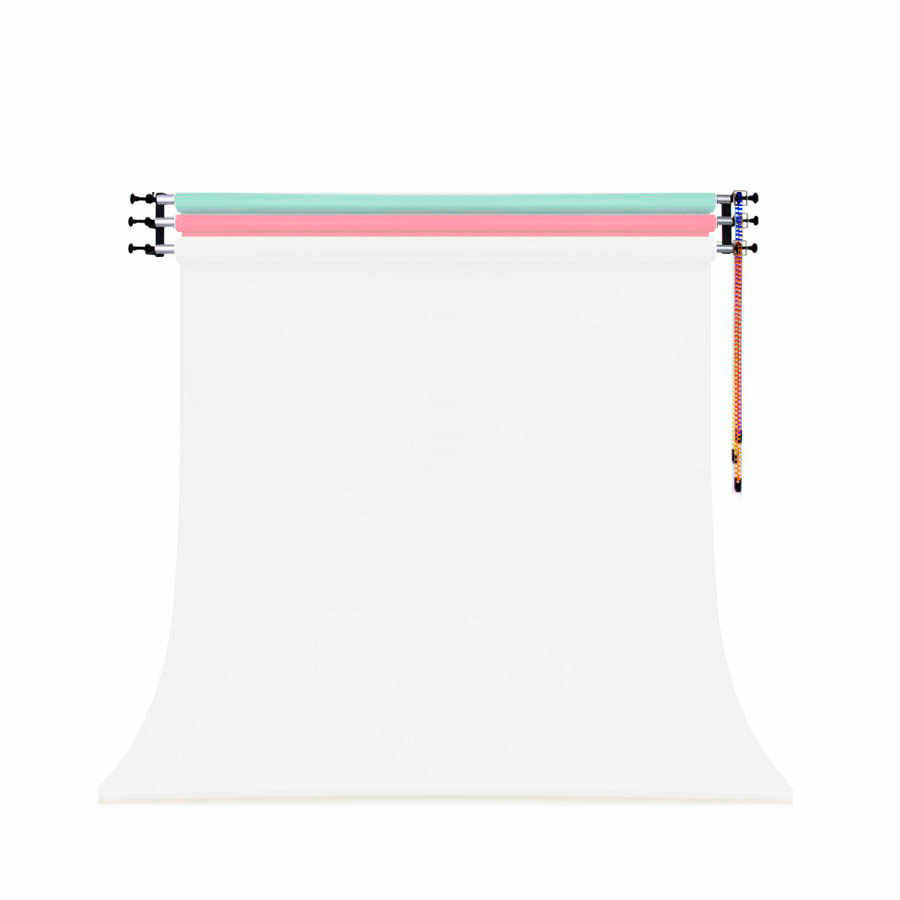
The fixed support would look like this with the paper rolls attached:
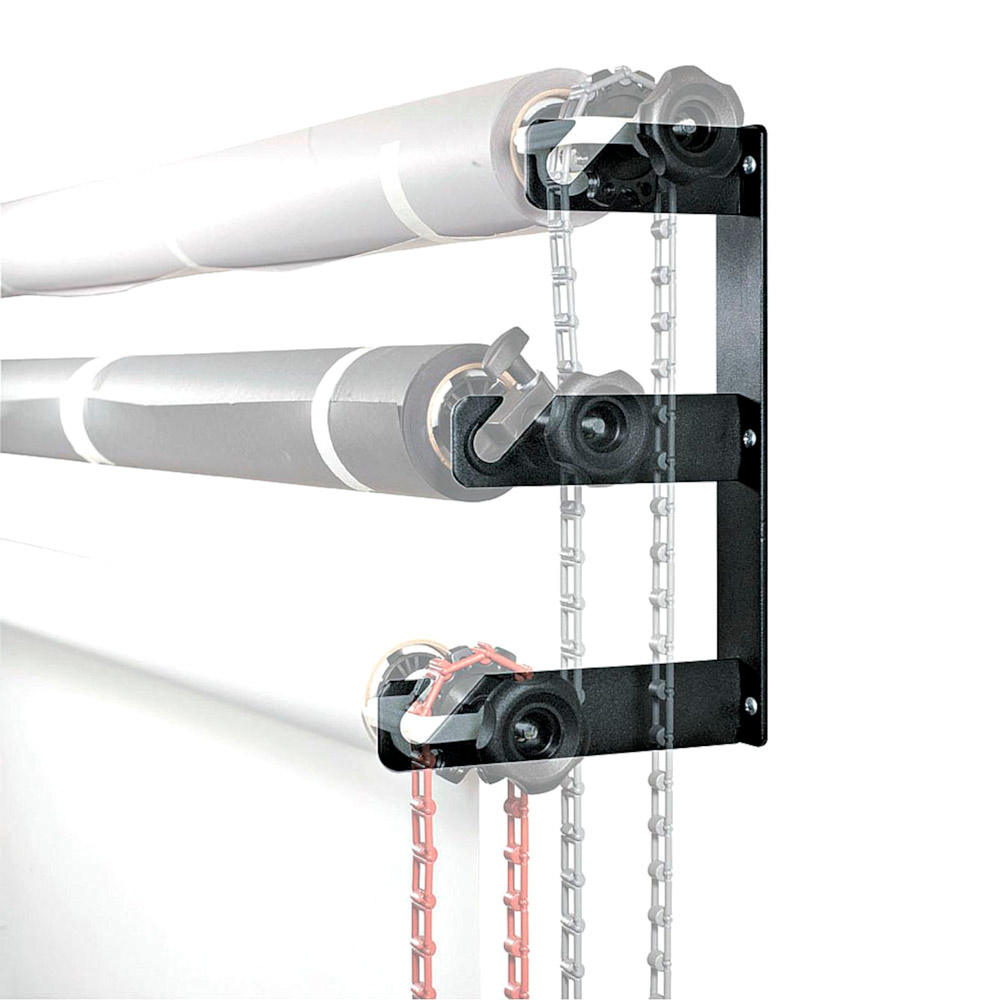
These types of systems are very easy to install and are very appropriate for small studios where taking advantage of every millimeter is essential. We can place them against the wall occupying the minimum space. The downside, of course, is that you cannot take them elsewhere as they are fixed to the wall.
Accessories for fixed study backgrounds
Background bar
The background bars are resistant metal tubes in which the paper or vinyl backgrounds that we are going to use can be placed.
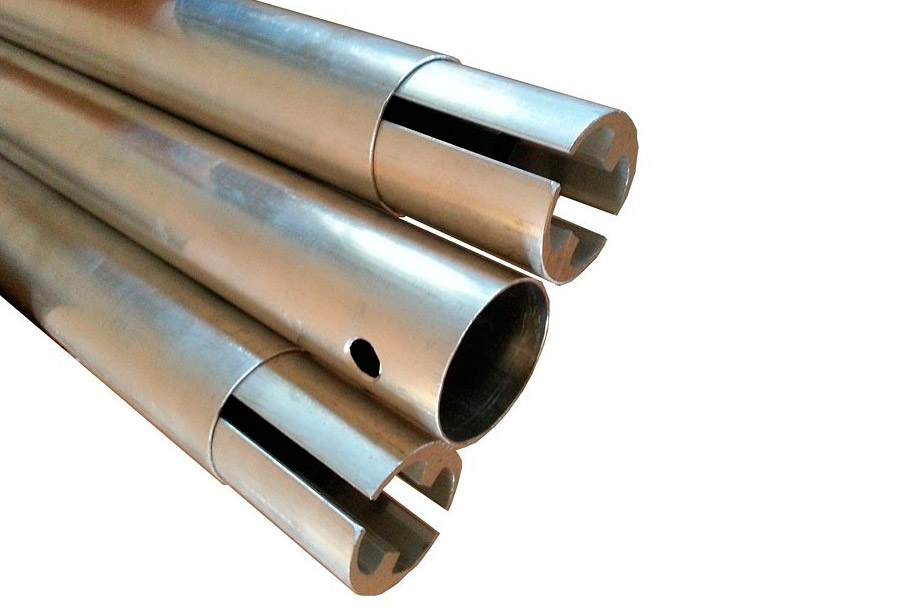
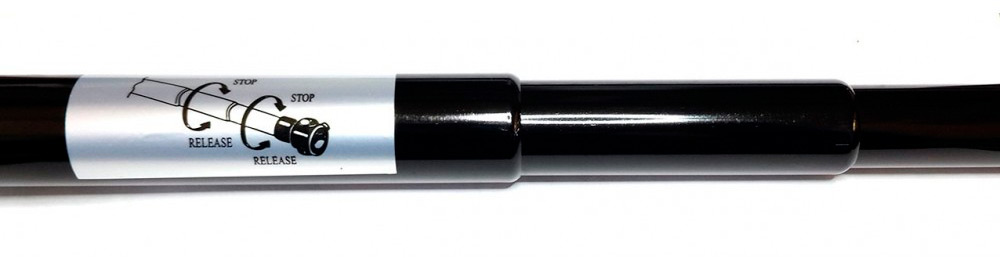
Some are extendable like this 3-meter aluminum photography background bar which actually consists of three aluminum bars that are pressed together and fixed by screwing them to a length of 3 meters. In them, you can place backgrounds made of fabric, cardboard, vinyl, and any roller for the studio background.
Reels or expanders
What is a reel for a studio background? It is nothing more than the part that is hooked, on the sides, to the roll of paper or vinyl that you have bought and that fastens them to the support on the wall or on the ceiling, allowing it to be rolled up to protect it when you are not using it. There are expanders that can hold more than one type of background, paper, and vinyl, or paper and fabric. So, depending on the space of the studio and the rolls that you have decided to buy, you will need to buy one or the other.
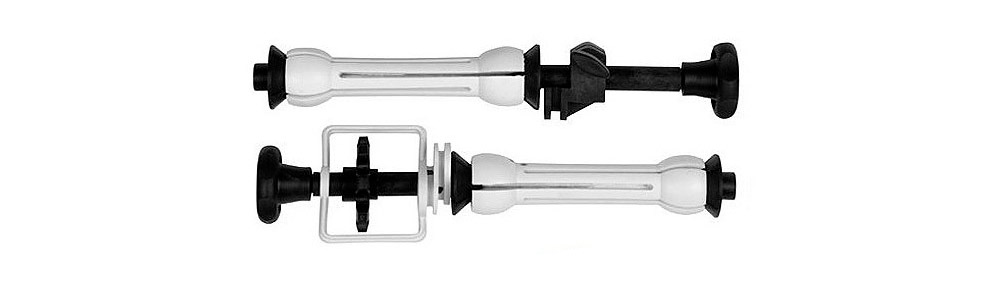
This is an example of a very versatile studio background reel as it is compatible with most fabric and paper tubes, but not vinyl ones. It engages by pressure by turning the side thread. Some of these reels or expanders have a metal chain that facilitates movement.
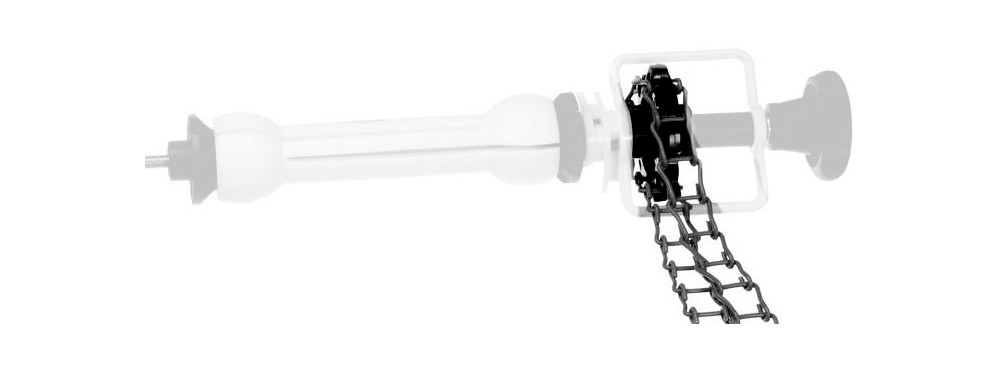
What is a chain for expanders?
It is a chain that can be made of plastic or metal, somewhat reminiscent of those of a bicycle, and that is used together with the expanders to raise and lower especially heavy bottoms more comfortably.
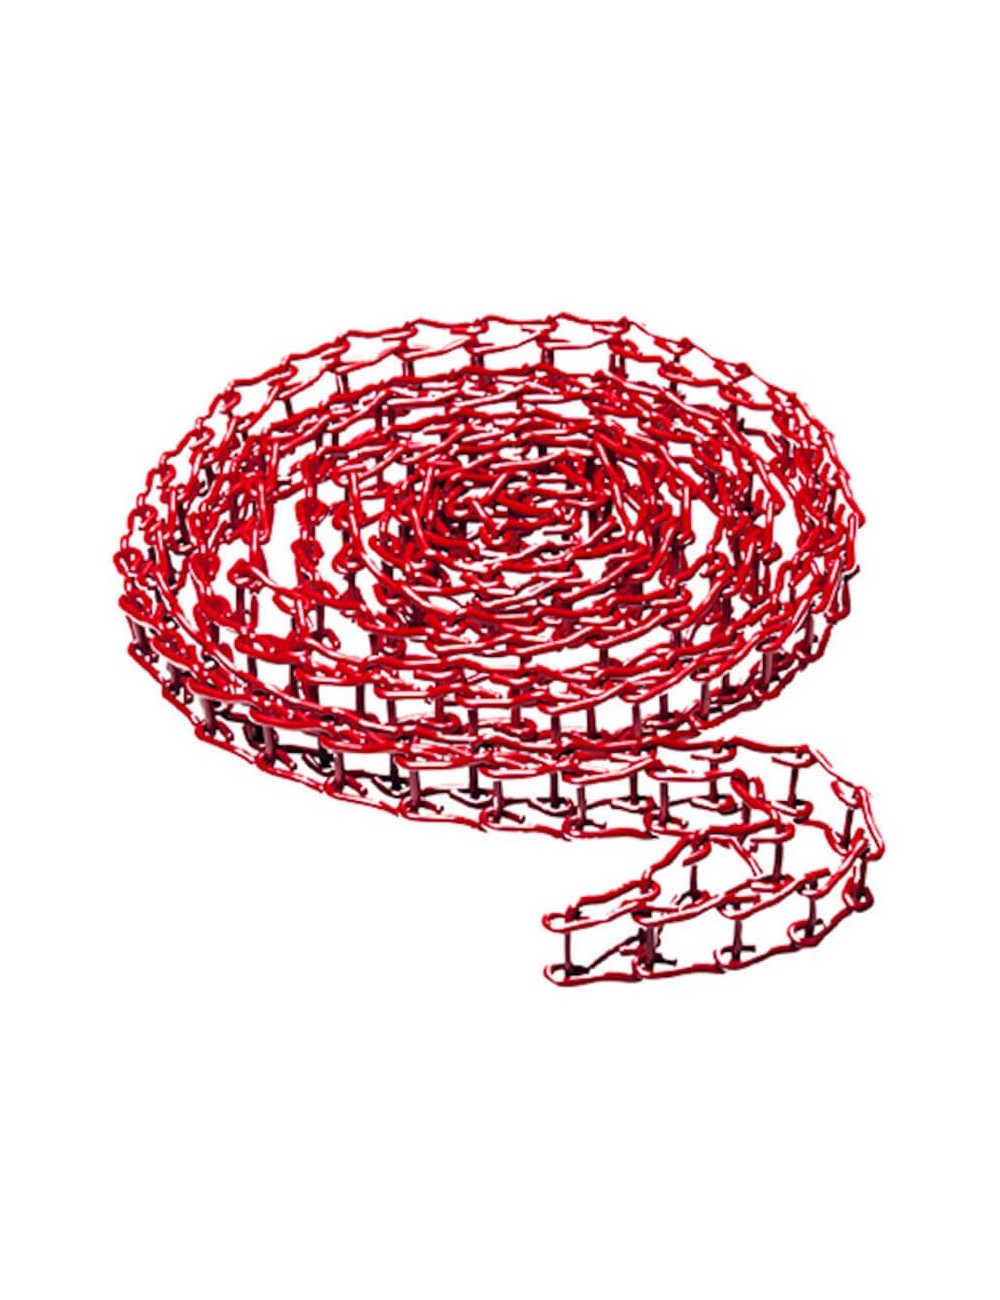
Chains, such as the Manfrotto 091MCR metal chain, are especially suitable for heavy backgrounds and allow you to raise and lower large paper and vinyl backgrounds. Being made of metal they are more resistant and hold more weight. The Manfrotto 091 MCR, has a total length of 3.5 meters, allowing 1 meter for the expanders, and weighs 600 grams.
Motorized systems:
One of the great advantages with which you can improve your anchoring system is to have a motorized system to raise and lower the funds with the remote control in a smooth and continuous way, in addition to being safer.
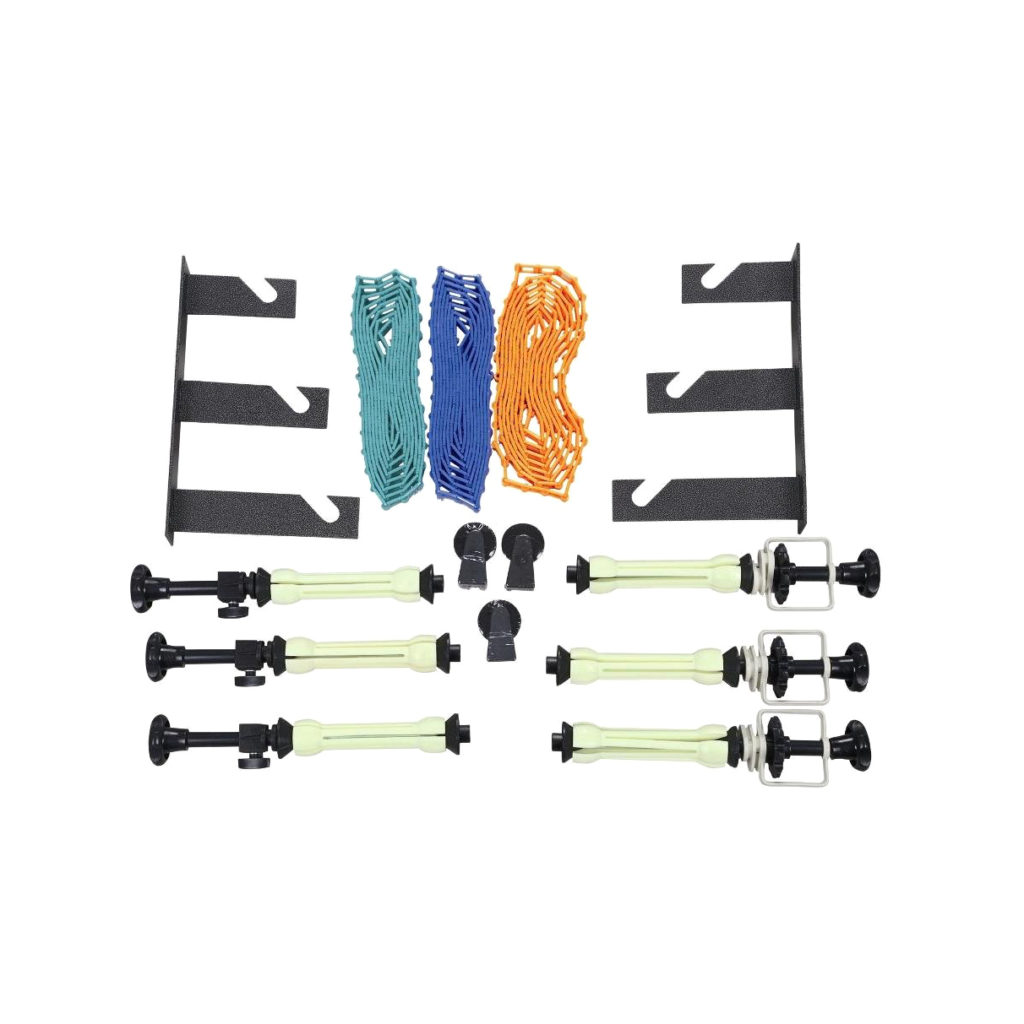
Powered pool systems like the CN-4RES are wonderful. CN-4RES has 4 sets of expanders for paper backgrounds and includes the metal wall brackets as well as the remote control. So when you need to lower a background, you only have to use the remote control and the effort is made by the motorized system while you see how the paper background you need lowers in a uniform, continuous and safe way.
Portable Studio Background Stands
The studio background stands can also be portable. That is, placed on tripods such as those used for flashes that can be moved comfortably. These stands are more suitable for large studios since in a small studio you need a lot more mobility and because the legs take up more space. Even customers can trip if space is tight.
On the other hand, being portable, they allow us much more flexibility and versatility when it comes to raising or lowering the top bar and adapting it to different sizes and also changing places or taking them outside the studio and working where they call you or playing with other sets.
In portable supports, we find different options. Thus, the expanders can be attached with tripods or with a kind of monopod called an auto pole.
What is an auto pole?
An auto pole is like a monopod that goes from floor to ceiling. In this case, there are always two, logically. On the one hand, they have the security and stability necessary to hold several rolls, and, on the other, they allow you, at any given moment, to disassemble them and store them in their bag. They are perfect for very tight spaces looking for maximum versatility. You don’t need to drill into the wall, you can mount and dismount them whenever necessary, and they allow you to achieve interesting effects even in very tight studios.

The Autopole of Manfrotto extensible is a good example of this type of media. It is very easy to assemble: the feet are stretched (this one has a capacity of up to 3.70 meters) and the safety lock is pressed. This way you make sure that it is tightly adjusted. It is very strong and safe as this particular model includes an intelligent safety lock with a cantilever system. In addition, it includes small rubber feet to ensure that it does not slip and give it more stability. This is an aluminum auto pole, a resistant and robust material, with an extendable bar but you can also find them with non-extendable bars.
Stands for portable study backgrounds
These supports are made up of two studio feet with a horizontal bar, which can be extendable or not, and which is the one that holds the rolls of paper, vinyl, or fabric. Portable stands usually include a carrying bag to take them outdoors.
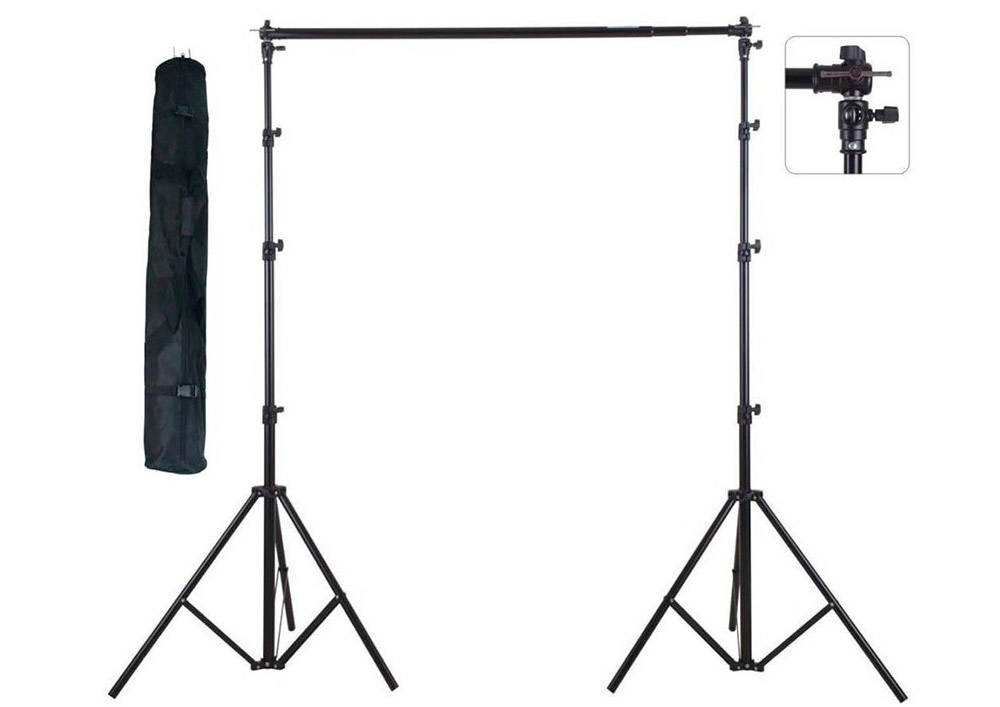
With either option, auto pole or tripods, the quality of the materials is very important as they have to be strong enough to support the rolls. We can put weights on the legs to generate more stability, but in any case, they should not be flimsy.
Additionally, portable backdrops can also include some of the perks we’ve been talking about in fixed backdrops like this roller chain studio backdrops stand.
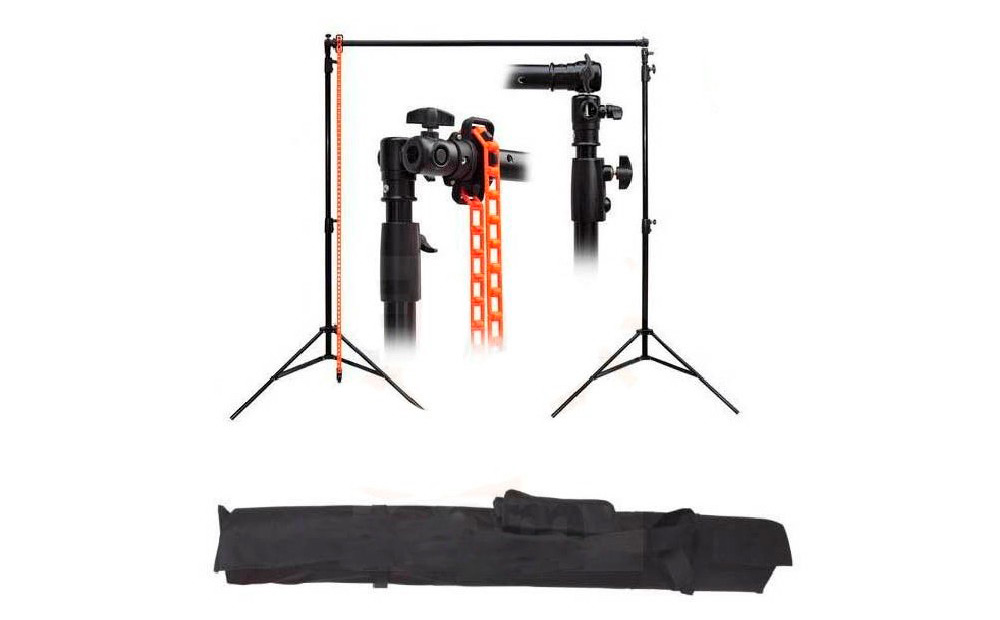
Also very interesting are the portable supports with extendable bars that allow the size of the support to be adapted to larger or smaller spaces, offering greater versatility depending on the object to be photographed in each situation.
How to illuminate paper study backgrounds?
When we begin to illuminate our attention, it is usually centered on the subject to be photographed and it is natural because it is the protagonist, but it is also essential to look at the background. Bad lighting will generate more shadows than desired and headaches. It is necessary to illuminate the background, in addition to illuminating the subject and paying equal attention to it. Let’s see some tips to illuminate the background:
The background, whether it be fabric or of any kind, must be smooth. Use tweezers, end weights, or anything else to keep it stretched out.
The lighting should be as uniform as possible throughout the area that we are going to photograph, especially in chroma and effects.
Keep in mind that if you color the background with light, it will bounce off the face or body of the subject to be photographed. To avoid this, the person must be at least 1.5 or 2 meters from the bottom. This is especially important if you are doing a chroma. You must prevent the green hue from bouncing and appearing on the person, on the skin, hair, clothing, or any object that appears in the photograph, or the effect or its quality will be ruined.
If you use colored or effect backgrounds, such as brick for example, and you want to be faithful to the color of the background that you have bought, this is important. Both the background and the subject must be illuminated with the same amount of light, otherwise, a background, for example, red, will appear in your image as pink if it is more illuminated since it will “burn the color” or as maroon if it is less illuminated.
Brightens the background regardless of the subject
If you want to learn a little more about how to get a white background, find out here
To illuminate the studio backgrounds you will need to complete your equipment with flash or continuous light, tripods to hold the flash, reflectors or diffusers that help you moderate or reflect the light and if you do not work with continuous light, a flash synchronization system. With this team, you can work for years on countless projects.