A simple tutorial on how to make an image transparent in Photoshop. You will learn how to Add Transparency (backgrounds or just portions) to your pictures.
Create Transparent Background in Photoshop
Clear the backgrounds for your product photos and logo so you can use images across the web. Transparent background for your product image in Photoshop opens up a wide range of eye-catching display options for your featured products. For example, a transparent background gives you the ability to place your product against a background that dynamically changes colors. A featured product with a transparent background can interact differently with its background on responsively designed sites depending on the user’s screen size.
Your website’s logo files should also be created with transparent backgrounds so that you can place the logo anywhere on your site, regardless of the page’s background colour.
Using Photoshop to create a transparent background and then saving the file in the appropriate web-ready format is remarkably easy once you know what you’re doing. We’ll walk you through this simple process in the tutorial below.
Make your image into a layered file
Open your product image in Photoshop. Most likely, it’ll be in a JPG format. For this example, we’ll use a picture of a wristwatch taken against a white background.
Adobe Stock Open your Layers panel. By default, this panel rests to the right of your image window, but if you don’t see it, you can access it by clicking on Window > Layers from the dropdown menu at the top of the application window.
In the Layers panel, double-click on the Background layer. A New Layer dialogue box asking you to rename the layer will appear. You can leave this as the default Layer 0 and click OK.
You’ve now unlocked your background layer, and anything you delete from it will be transparent.
Photoshop. How to Make Image Transparent
background image Photoshop transparent Rating: 3.5. From 34 votes.
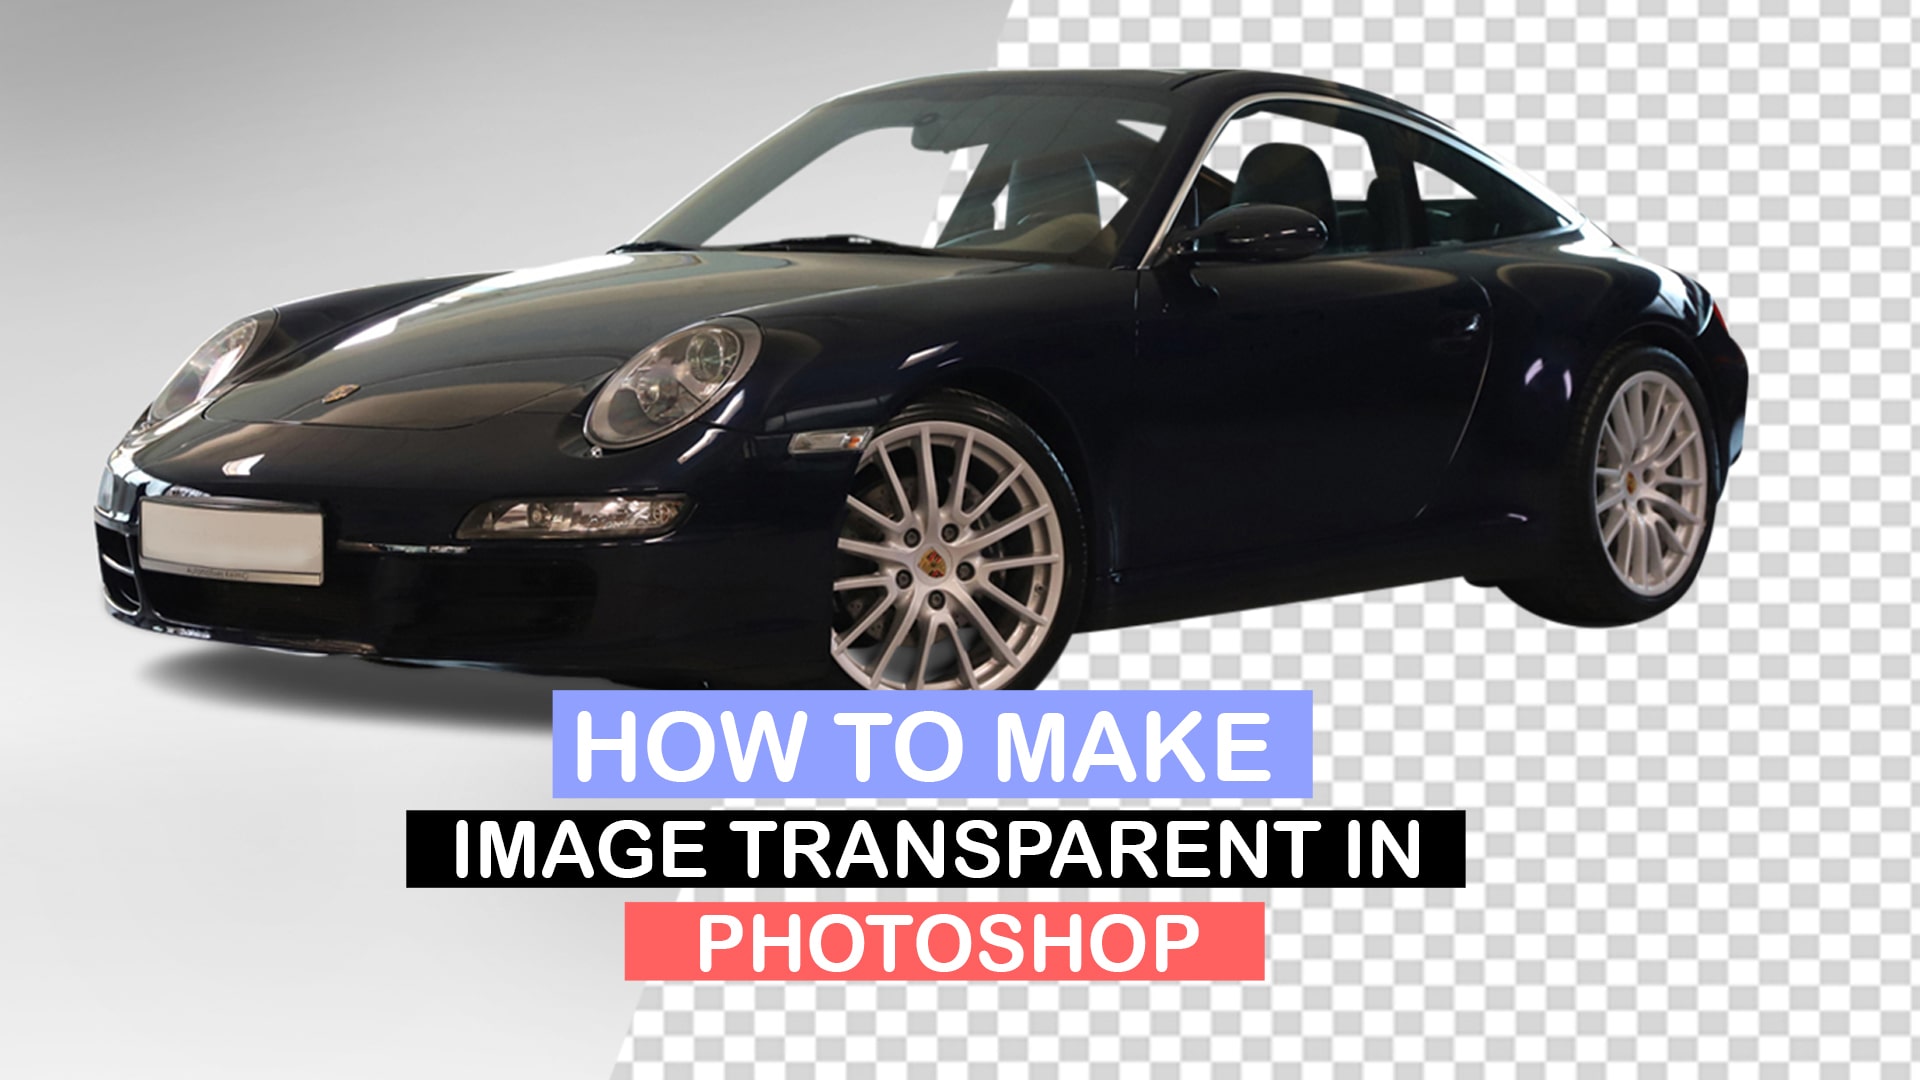
This tutorial shows how to make the image background transparent in Photoshop.
Your Ultimate Web Development Kit:
To make the image/logo image background transparent in Photoshop, you should perform the following:
Right-click the image layer in Photoshop. Select ‘Layer From Background’.
Select the Magic Wand Tool from the left panel in Photoshop:
Select the image area you want to be transparent using the Magic Wand Tool:
Once selected, click ‘Delete’ on your keyboard. With that done, you should see the transparent background around the image.
If some background areas remained non-transparent, please follow the steps above for each of those areas:
To Save the image, click ‘File-Save for Web and Devices’ in Photoshop, then select the image and click ‘Save’:
Feel free to check the detailed video tutorial below:
Some users have simple needs that don’t justify installing professional software and paying a subscription. For tasks like making your photos transparent, this Free Online Photoshop Editor is just perfect. You can create images fine to combine them with others naturally or add some items with a fully transparent background for branding purposes and thus improve your content.
In Photoshop, you can create new images with a transparent background and either tweak the opacity meter or set the desired values in the background options as you’re configuring the new canvas. Alternatively, you can make the background transparent with one of the several available tools, like an Eraser or the Selection instrument.
Such a trick is excellent when you need to set your image on a textured background. That can be realized through layering images in Photoshop, putting them to blend with your website’s design or print them out on special paper. It would help if you had some practice to master the task.
The quick way to remove a background in Photoshop
Each subsequent version of this program makes things easier and more accessible for digital artists. With Photoshop 2020, on the condition that your performance is at least 21.0.0, you can let the Select Subject tool do everything for you. It deals masterfully with some simple shapes, and a more complex outline won’t be hard to define manually.
The first step is to copy the background layer. Select the whole image using the Control/command + A, depending on your OS, then copy it and paste it back in. Now, you can click the eye icon in the line of the old layer in the panel to make it invisible and carry on performing the changes in the newly created copy.
There is the Properties panel on the right. Find Quick Actions among its sections. There, you will find the automatic Remove Background feature. It will take some time for the internal processes to find the subject and erase all that’s not connected.
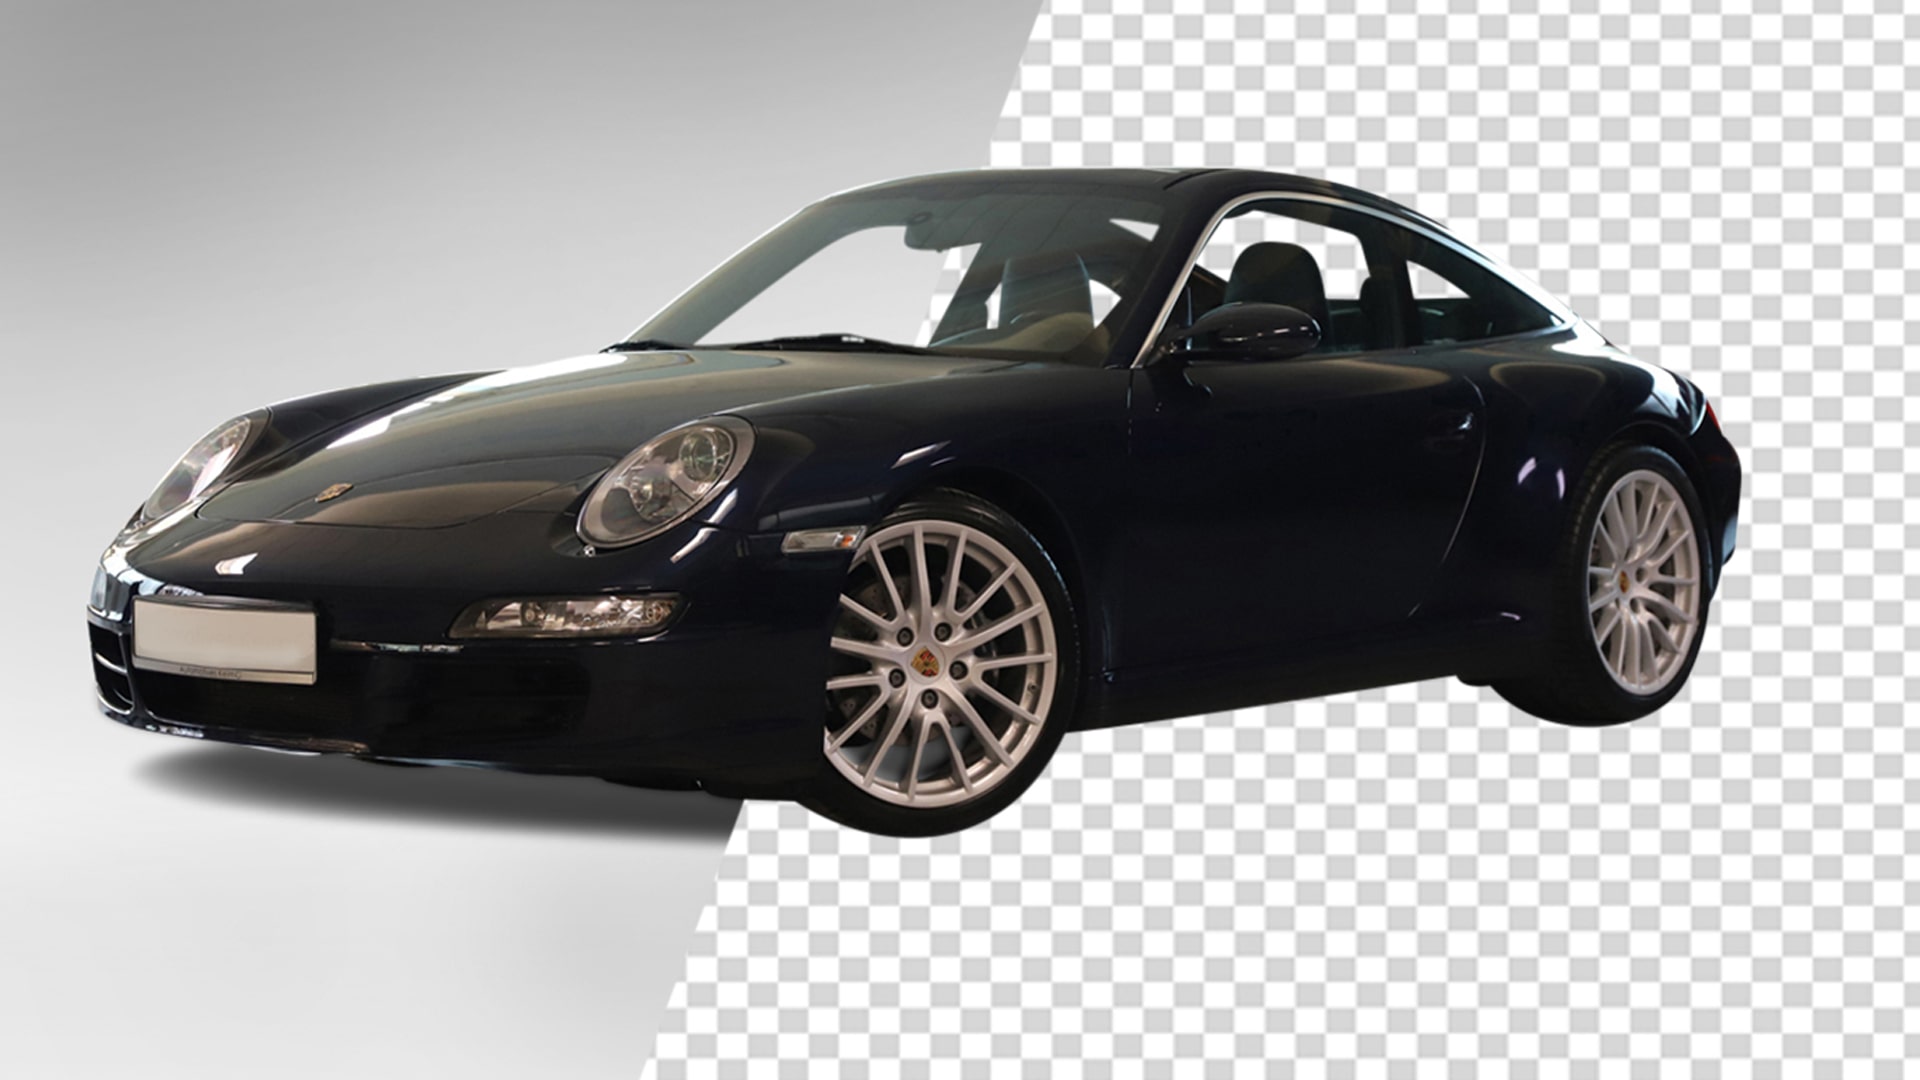
The result should give you a cut-out of that subject on a transparent background indicated by the universal grey and white checkered pattern. You might not see it if you forgot to deactivate the background layer previously.
The results will be outstanding for a clearly defined item, but it may not work well for complicated cases. You can constantly refine the edges through the mask, an additional monochrome layer that has been generated automatically. Please select it and use the paintbrush to add areas with white paint or remove them with black.
Achieving the perfect result, remove the background layer or export it as a ready-to-use PNG with transparent areas, or save the whole project as a PSD to reopen it later for further processing.
What Is a Transparent PNG Background
A PNG is an image file type that allows you to have no background colour. Most images cover a certain number of pixels and have colour in all of those pixels, even if they are white. A transparent background has nothing in the background pixels, allowing what’s behind it to show through.
In this screenshot, you can see that the header with the “Emergency Chapter Housing Campaign” logo has used an image with a transparent background because the blue behind it is showing through.
In contrast, you can see here a logo with a white background:
The white box behind the logo itself is the background. It looks unprofessional and messy and can clash with the background colour websites, brochures, or other designs.
Whether you have a website for your freelance work, small business, or nonprofit, you’ll want to ensure that your logo looks good on any page.
Unless you want to change the colours on your site, you need to make a transparent PNG that seamlessly integrates with your page and designs.
How to Make an Image Transparent on Photoshop
Need to play around with the transparency of your latest image?
Making an image transparent – even partially, can give you endless ways to enhance your material. For instance, you can combine images to create something new for your customers or add a transparent image to a product for branding reasons.
The question for many beginners in the photo editing world, is how do you make an image transparent?
The simple answer is Photoshop.
If you don’t have it yet, you can get Photoshop here from Adobe’s site.
Photoshop is a popular image manipulation tool that allows you to add transparency to your photos in a range of different ways. Today, we’re going to look at three different ways you can add transparency to your pictures by discussing how to:
- Make layers transparent
- Create transparent selections in photos
- Create a transparent background
- Make the most of your transparent images
Let’s begin.
Option 1: Making Layers Transparent
If you’re wondering how to make an image transparent for your portfolio, one easy option is to learn how to make layers transparent. When you make a layer transparent, you can add it to other images, or place it onto products without worrying about background edges and opacity. You can even use layers to touch up your photos.
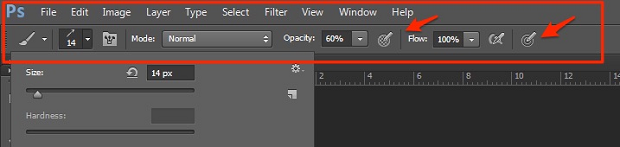
- Select the layer you want to make transparent by clicking on the Layers tab – it looks like a folded page.
- Select the opacity level in the box that appears at the top of the Layers. The default is 100%, but you can take it as low as 0%.
- Save your image as a . PNG file to preserve transparency.
Option 2: Creating Transparent Selections
If you want to merge or combine pictures in your portfolio, then you might need to make parts of your layer transparent. To do this, you’ll need to select your layer again like above, but make sure that the layers underneath that image are transparent. Select the area you want to alter using the selection tool, then:
- Copy the area by right-clicking and choosing Copy
- Delete the selection with the Del button
- Paste your copied selection into a new layer
- Lower the opacity on that layer
Option 3: Making a Transparent Background
Maybe you want the focus of your image to be clear and opaque, but the background to be transparent so that you can combine pictures or move the subject of your image elsewhere. To do this, you’ll need to create a transparent background.
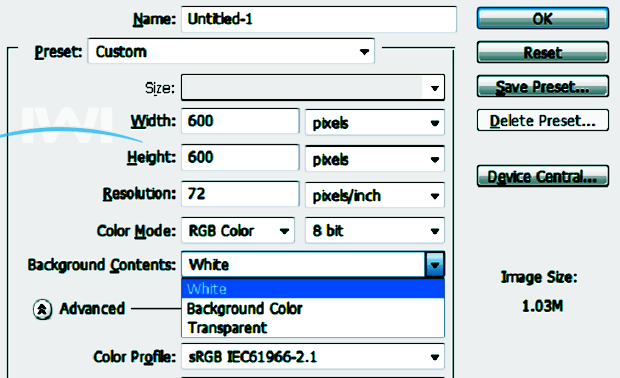
- Click on File, then New in Photoshop and a new window will appear.
- Go to the section that says, “Background Contents” and select Transparent then click OK
- Go to your Layers section and make sure it looks like a checkered white and gray box – this will confirm that the layer is transparent
Once you place your image into the transparent background, you’ll be able to remove any edges or extra elements from the photo that you also want to be transparent. To do this, click on the Eraser tool or Magic Eraser tool on the left-hand side of the image. Drag the eraser over the areas that you want to make transparent.
Getting the Most out of Your Transparent Photos
Once you’ve learned how to make an image transparent in Photoshop, it’s important to make sure that you can use those images without them accidentally taking on a new background when you open the file. The key is to make sure that your layers don’t merge when you’re saving your Photoshop file.
When saving your new transparent photo, click on the Format drop-down menu and select the PNG option. Choose a location where you’ll be able to easily find your image and hit the Save button.
If you can’t see a PNG file option on your Photoshop documents, then you may be editing your image in the CMYK format, which means that you’ll need to convert it into the RGB mode, so you can save as a PNG file. Don’t save as JPG as this will eliminate all of your hard work.
There you have it – learning how to make an image transparent with Photoshop was probably much easier than you thought! Now you can use your transparent photos to create a stunning selection of pictures to add to your growing portfolio!