
DIY Lightbox: Creating Your Own Photo Studio
Photography enthusiasts often face challenges when trying to capture professional-looking images without a dedicated studio setup. However, with the advent of DIY lightboxes, creating your own photo studio has never been easier or more affordable. In this article, we’ll explore how to make a DIY lightbox from scratch, providing step-by-step instructions, tips for effective usage, and much more.
Introduction to DIY Lightbox
A DIY lightbox is a simple yet ingenious solution for amateur photographers looking to improve the quality of their photos. It consists of a box-like structure with translucent sides, designed to diffuse light evenly and eliminate harsh shadows. By controlling the lighting environment, photographers can achieve stunning results without the need for expensive studio equipment.
Materials Needed
To construct your DIY lightbox, you’ll need a few basic materials that are readily available at hardware stores or online retailers. These include:
- Cardboard box or PVC pipes for the frame.
- White fabric or tracing paper for diffusion.
- Poster board or fabric for the backdrop.
- LED lights or desk lamps for illumination.
- Tape, glue, or clips for assembly.
Additionally, you may choose to customize your lightbox by adding features such as adjustable panels or colored gels for creative effects.
Step-by-Step Guide
Building the Frame
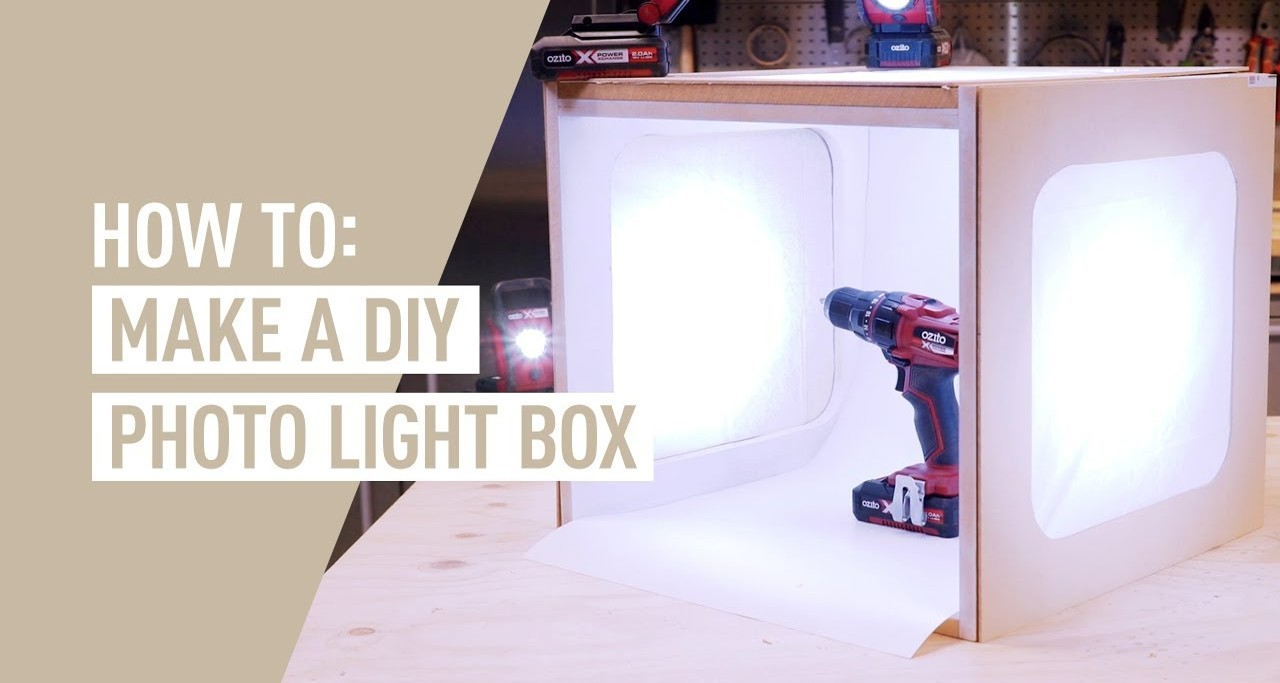
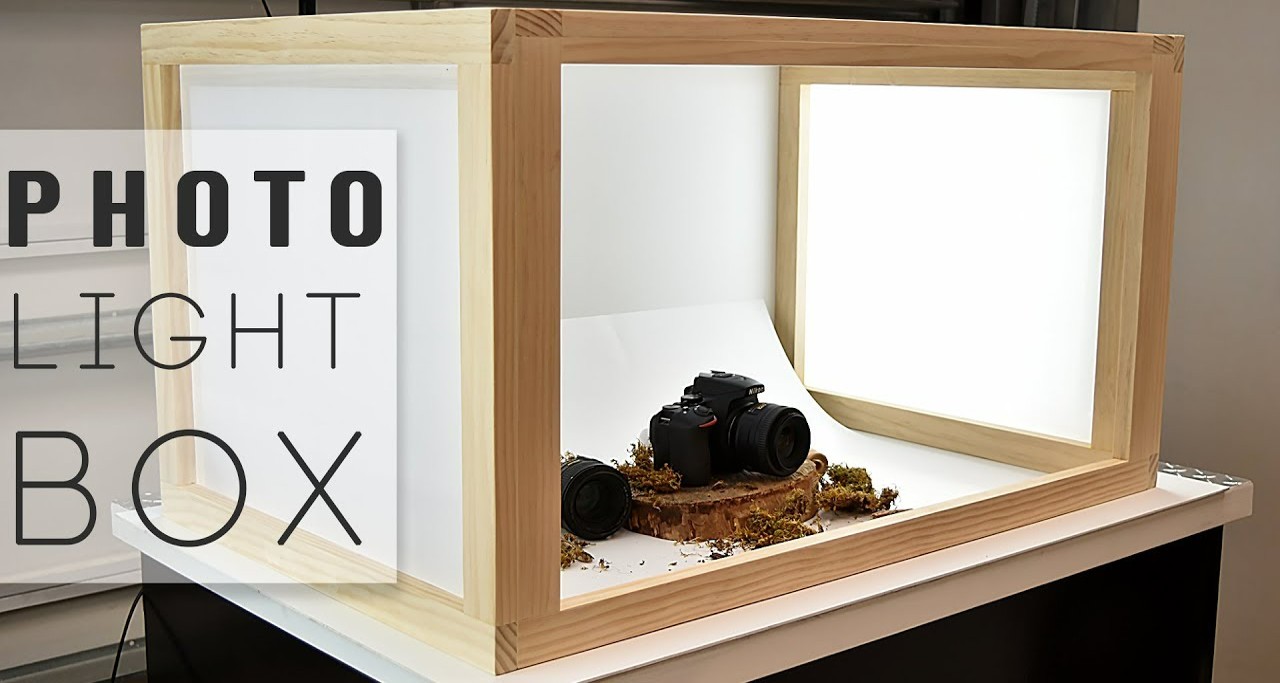
Begin by assembling the frame of your lightbox using either a cardboard box or PVC pipes. Cut out the sides and top of the box to create openings for the diffusion material and lights. Alternatively, use PVC pipes to construct a more durable and adjustable frame.
Attaching the Diffusing Material
Next, cover the openings of the frame with white fabric or tracing paper to diffuse the light evenly. This helps to minimize harsh shadows and create a soft, flattering glow on your subjects. Secure the material in place using tape or glue, ensuring a smooth surface without wrinkles or creases.
Adding the Backdrop
Attach a piece of poster board or fabric to the back of the lightbox to serve as a backdrop for your photos. Choose a neutral color such as white or gray for versatility, or opt for patterned backgrounds to add visual interest to your images.
Installing Lighting
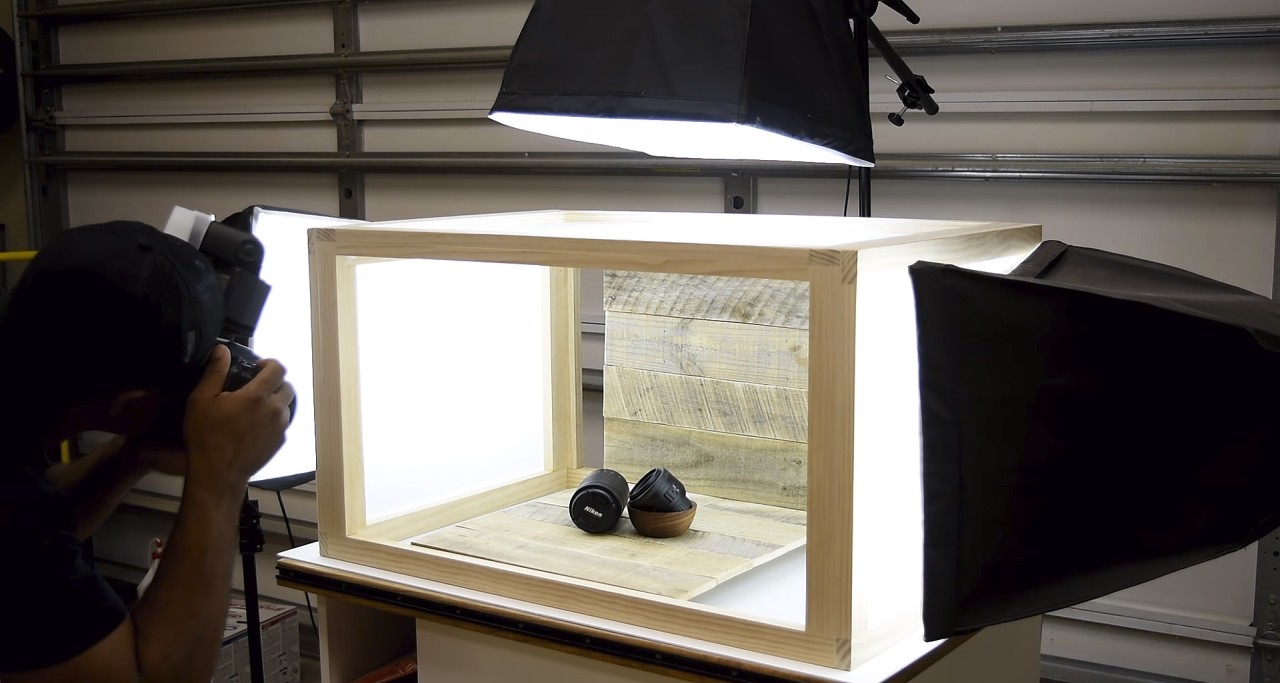
Position LED lights or desk lamps outside the lightbox to illuminate your subjects from different angles. Experiment with the placement of lights to achieve the desired effect, keeping in mind the importance of even lighting and shadow control.
Tips for Effective Usage
- Proper Positioning of Lights: Place lights at a 45-degree angle to the subject to minimize shadows and enhance depth.
- Adjusting Exposure Settings: Experiment with aperture, shutter speed, and ISO settings to achieve the perfect exposure for your photos.
- Utilizing Different Backgrounds: Change the backdrop to suit the mood or theme of your photoshoot, adding variety and visual interest to your images.
Advantages of DIY Lightbox
DIY lightboxes offer several advantages over traditional studio setups, including:
- Cost-effectiveness: Save money by using affordable materials and household items to create your lightbox.
- Customization Options: Tailor the size, shape, and features of your lightbox to suit your specific photography needs.
Common Mistakes to Avoid
When building and using a DIY lightbox, avoid the following common mistakes:
- Using Incorrect Materials: Ensure that the materials you choose are lightweight, translucent, and heat-resistant to avoid safety hazards.
- Poor Lighting Arrangement: Take the time to experiment with different lighting setups to achieve the best results for your photos.
Inspiration and Ideas
Get creative with your DIY lightbox by exploring new techniques and subjects. Here are a few ideas to spark your imagination:
- Product Photography: Showcase your handmade crafts or products in a professional-looking lightbox to attract customers and increase sales.
- Macro Photography: Capture intricate details and textures with close-up shots of small objects using the controlled lighting environment of your lightbox.
Maintenance and Storage
To keep your DIY lightbox in top condition, follow these maintenance tips:
- Cleaning the Lightbox: Regularly wipe down the inside of the lightbox with a soft cloth to remove dust and debris.
- Proper Storage Techniques: When not in use, disassemble the lightbox and store it in a dry, dust-free environment to prevent damage.
Comparison with Commercial Lightboxes
While commercial lightboxes offer convenience and professional quality, DIY options have their own unique benefits:
- Pros: Cost-effective, customizable, and easy to assemble.
- Cons: Limited durability and may require occasional adjustments or repairs.
Benefits Beyond Photography
In addition to photography, DIY lightboxes have a wide range of practical applications, including:
- Crafting: Use the lightbox to trace patterns, transfer designs, or showcase finished projects with professional-looking photos.
- Education: Teach students about lighting techniques, product photography, and artistic composition using the DIY lightbox as a hands-on learning tool.
Sharing Your Creations
Once you’ve mastered the art of DIY photography with your lightbox, share your creations with the world:
- Social Media Platforms: Post your photos on Instagram, Facebook, or Pinterest to showcase your talent and attract followers.
- Online Communities and Forums: Join photography forums or DIY groups to connect with like-minded enthusiasts, share tips and tricks, and gain inspiration for future projects.
Conclusion
Creating your own photo studio with a DIY lightbox is a fun and rewarding project that can elevate your photography skills to new heights. By following the step-by-step guide, tips for effective usage, and avoiding common mistakes, you’ll be well on your way to capturing stunning images with professional-looking results.
FAQs
- How much does it cost to make a DIY lightbox?
- The cost of materials for a DIY lightbox can vary depending on the size and features you choose, but it is generally much more affordable than purchasing a commercial studio setup.
- Can I use household items instead of buying materials?
- Yes, many household items can be repurposed to create a DIY lightbox, such as cardboard boxes, old sheets, or desk lamps.
- What type of lighting is best for a DIY lightbox?
- LED lights or desk lamps with daylight-balanced bulbs are ideal for providing even, natural-looking illumination in a DIY lightbox.
- Can I make a collapsible lightbox for portability?
- Yes, you can create a collapsible lightbox using foldable materials such as fabric or PVC pipes for easy storage and transportation.
- How do I prevent shadows in my photos?
- Position your lights at different angles around the subject to minimize shadows, or use reflectors to bounce light back onto the subject and fill in any dark areas.